Dust is the silent enemy of every desktop computer. At first, it looks like nothing more than a thin, harmless gray layer. But inside your PC, dust slowly chokes fans, blankets heat sinks, and turns the airflow inside the case into a sluggish trickle. Before long, your once‑snappy machine runs hotter, works harder, and may even start to stutter or shut down unexpectedly. The good news is that How to Clean Your PC (Dust Removal) is one of the easiest, most effective maintenance tasks you can perform – when it’s done correctly. Many well‑intentioned users grab the wrong tool or use a risky technique, turning a quick clean‑up into an expensive repair.

This guide walks you through seven common dust‑removal mistakes, then gives you a clear, safe, and professional method for How to Clean Your PC (Dust Removal) . Finally, you will learn how to prevent dust from coming back, so your machine stays cool, quiet, and reliable for years.
Why Dust Is Your Computer’s Worst Enemy
Dust looks harmless, but inside a PC it causes three serious problems.
First, dust acts like an insulator. When particles settle on the fins of a CPU or GPU heat sink, they trap heat inside the component instead of letting it escape into the airflow. Over time, heat builds up, the fans spin faster and louder, and the processor eventually slows itself down to avoid damage – a process called thermal throttling.
Second, dust blocks fan vents and clogs dust filters. Restricted airflow forces fans to work harder, often increasing noise levels while delivering less cooling. Heavy dust accumulation can even stop a fan altogether, causing components to overheat permanently.
Third, dust holds moisture and can cause corrosion. On a motherboard or graphics card, a thick layer of dust can trap humidity, which may lead to electrical shorts over time. In the worst cases, a severely dusty PC becomes unstable and eventually fails.
A properly cleaned PC runs cooler, remains quieter, and lives longer than a neglected one. But to get those benefits, you must avoid the mistakes that can turn a routine clean‑up into a disaster.
7 Common Dust Removal Mistakes You Must Avoid
Many PC owners try to save time or use household tools, only to introduce new risks. Here are the seven most frequent and dangerous dust‑removal errors.
1. Using a Household Vacuum Inside Your PC
A standard vacuum cleaner creates static electricity as air and dust rush through its plastic nozzle. That static discharge can easily damage sensitive computer components, including the motherboard, RAM, and graphics card. The hard nozzle tip can also knock off small capacitors, bend fan blades, or suck up tiny screws and connectors. Vacuum cleaners should never be used directly on internal PC parts. If you absolutely need suction, use the vacuum only on dust filters after they have been removed from the case, and keep the nozzle at a safe distance.
2. Blowing Dust Out with a Hairdryer or Leaf Blower
A hairdryer is not a cleaning tool. It pushes air at low pressure but high temperature. The heat can melt or warp plastic components, and the strong air jet can damage fan bearings. Leaf blowers create an enormous volume of high‑speed air, often charged with static, and can blow loose cables out of their sockets. Neither tool belongs anywhere near an open PC case.
3. Using Wet Wipes, Damp Cloths, or Water Inside the Case
Liquids and electronics do not mix. Even a slightly damp cloth can leave moisture on a circuit board, causing a short the next time you power on the machine. Rubbing alcohol (isopropyl) is safe in small amounts because it evaporates almost instantly, but only when applied sparingly with a cotton swab or a cloth that has been wrung out thoroughly. Using tap water, glass cleaner, or household wipes inside the PC is extremely risky.
4. Spraying Compressed Air Upside Down or Too Close
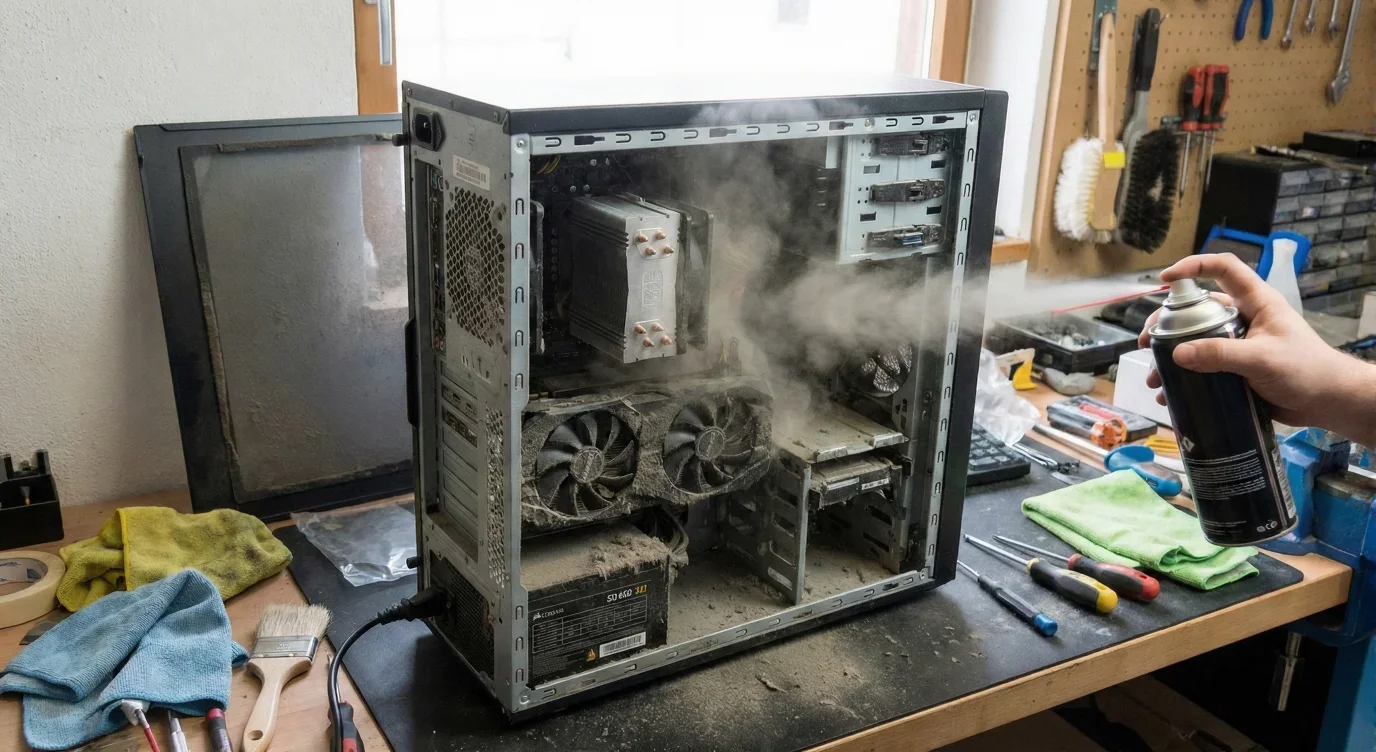
Canned compressed air contains a propellant that turns into a bitter, ice‑cold liquid if the can is tilted too far. If that liquid lands on a running circuit board, it can cause a short or even crack a component due to sudden cold shock. Always hold the can upright and use short bursts, keeping the nozzle at least six inches away from the parts you are cleaning.
5. Letting Fans Spin Freely While Cleaning
When you blast compressed air at a fan, the blades can spin much faster than they are designed to. A fan turned into a tiny generator can send voltage back into the motherboard, causing damage. It can also destroy the fan’s own bearings, making it wobble or screech afterward. Always hold each fan still with one finger while blowing air into it.
6. Cleaning in a Closed or Poorly Ventilated Room
Blowing dust out of a PC does nothing if you are standing indoors with no airflow. The dust simply swirls around, settles on other surfaces, and eventually finds its way back into the machine. Always take your PC outside or into a well‑ventilated workshop, and consider removing the side panel so dust has a clear path out of the case.
7. Skipping Your PC’s Built‑In Dust Filters
Many users spend time cleaning fans and heat sinks while completely ignoring the dust filters that sit in front of intake fans. Clogged filters prevent fresh air from reaching the inside of the case, making all other cooling efforts useless. Check, remove, and clean your dust filters first. If your case does not have filters, you can add magnetic mesh filters to every intake fan.
How to Clean Your PC (Dust Removal) – The Right Way, Step by Step
Now that you know what not to do, here is the correct, safe, and professional method for How to Clean Your PC (Dust Removal) . Follow each step carefully, and your machine will run cooler and quieter than it has in months.
🛠️ Tools You Will Need
| Tool | Purpose |
|---|---|
| Compressed air duster (upright can) | Blows dust out of tight spaces without contact |
| Microfiber cloth (lint‑free) | Wipes down external surfaces and panels |
| Soft anti‑static brush | Loosens stubborn dust stuck on heat sinks |
| 99% isopropyl alcohol | Removes greasy or caked‑on residue (use sparingly) |
| Cotton swabs | Reaches small crevices and fan hubs |
| Phillips head screwdriver | Removes side panels |
| Optional: electric rechargeable air duster | Eco‑friendly, reusable alternative to canned air |
Using an electric air duster can save money over time and eliminates the risk of propellant liquid landing on your components.
Step 1 – Shut Down, Unplug, and Ground Yourself
Turn off your computer completely. Unplug the power cord from the back of the power supply, and disconnect all other cables (monitor, USB, audio). Press and hold the power button for five seconds to discharge any residual electricity still sitting on the motherboard. If you have an anti‑static wrist strap, wear it and clip it to a metal part of the case.
Step 2 – Take the PC to a Well‑Ventilated Area
Carry your computer outside to a porch, garage, or workshop. If you must clean indoors, open windows, turn on a fan, and work near an open doorway. The goal is to let the dust escape and not linger in the room where it will settle back onto your equipment.
Step 3 – Clean All Removable Dust Filters First
Most modern PC cases have dust filters on the front panel, bottom intake, and sometimes the top or side. Remove each filter and take it to a sink or outside space. Use compressed air to blow dust off the filter, blowing from the clean side outward so particles do not get pushed deeper into the mesh. If a filter is very dirty, you can rinse it with warm water and a drop of dish soap, but let it dry completely before reinstalling. Never put a wet filter back into your PC.
Step 4 – Remove the Side Panel and Inspect the Interior
Unscrew the two screws at the back of the case that hold the left side panel in place. Slide the panel off and set it aside on a soft cloth. Now you can see all the dust that has been quietly accumulating: layers on fan blades, clumps between heat‑sink fins, and a thin haze across the motherboard.
Step 5 – Blow Dust Methodically from Top to Bottom
Hold your compressed air can upright. Start at the top of the case: CPU cooler, top exhaust fans, and any radiators. Use short, controlled bursts. Work downward toward the graphics card, chipset heat sinks, and bottom‑mounted fans. Always keep the nozzle a few inches away from the components.
For each fan you clean, stop the blades with one finger while you blow. This protects both the fan bearings and the motherboard.
Step 6 – Use a Soft Brush for Stubborn Clumps
Dust that has been packed into heat‑sink fins for months may not come loose with air alone. Gently brush those areas with a soft anti‑static brush. Follow up immediately with another blast of compressed air to carry the loosened dust out of the case.
Step 7 – Wipe Down Accessible Surfaces
Take a clean, dry microfiber cloth and gently wipe the inside of the side panel, the floor of the case, and the back of the motherboard tray. If the fan blades or plastic shrouds have sticky residue, dip the corner of the cloth in 99% isopropyl alcohol and carefully wipe them down. Alcohol evaporates within seconds, leaving no moisture behind.
Step 8 – Reinstall the Filters and Side Panel
Once every visible speck of dust is gone, double‑check that no debris remains in fan hubs or heat‑sink fins. Reinstall all dust filters (make sure they are completely dry). Replace the side panel, tighten the screws, and reconnect your cables.
Step 9 – Power On and Listen
Plug your computer back in and turn it on. Listen carefully. Your fans should be noticeably quieter. If you had been experiencing random stutters or frame‑rate drops in games, a clean PC may restore full performance because the CPU and GPU are no longer thermally throttling.
How Often Should You Deep Clean Your PC?
Frequency depends on your environment. For a typical home office with no pets, a thorough internal cleaning every three to six months is sufficient. If you have pets, smoke indoors, live in a dusty area, or place your PC on the floor, aim to clean every two to three months.
Perform a quick inspection of the dust filters once a month. If you see a visible layer, it is time to clean. Waiting until you hear loud fans or feel a hot case means you are already overdue.
Long‑Term Strategies to Keep Your Computer Dust‑Free
Cleaning is only half the battle. The real goal is to reduce how much dust enters your PC in the first place.
🔹 Maintain Positive Air Pressure Inside the Case
Air pressure inside your PC case is determined by the balance between intake fans (pulling air in) and exhaust fans (pushing air out). In a positive‑pressure setup, intake fans slightly outnumber exhaust fans. This pushes air out through unfiltered cracks and openings, so dust cannot get sucked in through those gaps.
In a negative‑pressure setup (more exhaust than intake), the case pulls unfiltered air through every tiny hole, PCIe slot, and panel gap, bringing in far more dust.
Aim for neutral or slightly positive pressure. If you have more exhaust fans than intake fans, flip one or two of them to become intakes, or slow down the exhaust fans using your motherboard’s fan control software.
🔹 Add Magnetic Dust Filters to Every Intake Fan
If your case did not come with dust filters on all intake fans, buy magnetic mesh filters that stick to the outside of the case. They are inexpensive, easy to remove, and simple to clean. A magnetic filter catches most dust before it ever enters your PC. Over time, the filter fills up with lint, but that is good – that lint would otherwise be coating your components.
🔹 Keep Your PC Off the Floor
Dust settles near the floor. A PC sitting on carpet or a bare floor will pull in far more particles than the same machine placed on a desk or a small stand. Move your computer onto a raised surface if possible, and vacuum the area around your desk regularly to reduce the amount of dust in the immediate environment.
🔹 Make Routine Quick Checks Part of Your Schedule
Once a month, glance through the front and bottom dust filters. If they look clogged, remove them and blow them out. While the side panel is off, look for any new dust accumulation. A few minutes of preventive cleaning saves you an hour of deep cleaning later.
Frequently Asked Questions (FAQ)
Q1: Can I use a vacuum cleaner if I hold it far away from the components?
Even holding a vacuum at a distance still creates static electricity as air rushes through the nozzle. The risk of a static discharge that damages a motherboard or RAM module is too high. Use compressed air or an electric duster instead.
Q2: Is it safe to use a paintbrush or makeup brush for dusting?
Only if the brush has anti‑static properties. Ordinary nylon or natural bristles can generate static charge as they move across surfaces. Use a brush specifically labeled as ESD‑safe (electrostatic discharge safe) for cleaning electronics.
Q3: My PC has liquid cooling (AIO). Is cleaning any different?
The same principles apply. Blow dust out of the radiator fins using short air bursts while holding the fans still. Be careful not to knock any of the water tubes loose. Clean the radiator itself with compressed air directed from the inside of the case outward.
Q4: Do I need to remove the graphics card before cleaning?
Not necessarily. If you can reach all sides of the card and blow dust out of its fans and heat sink without tilting the can dangerously, you can clean it while installed. For a deep clean every 12–18 months, removing the card gives you better access and lets you clean the PCIe slot as well.
Q5: My PC is still running hot after cleaning. What else could be wrong?
Possible issues include dried‑out thermal paste between the CPU and its cooler, a dead fan that no longer spins, or a component that generates more heat than your current cooling solution can handle. Reapply thermal paste every two to three years, especially if you see high temperatures after cleaning.
Conclusion
Learning How to Clean Your PC (Dust Removal) correctly is one of the highest‑return investments you can make in your computer’s health. The difference between a machine that runs quietly for five years and one that overheats and throttles within two years often comes down to a simple cleaning schedule.
Avoid the seven common mistakes that turn a quick tidy‑up into an expensive repair: never use a household vacuum inside your PC, keep liquids away from circuit boards, hold fans still while cleaning, and always work in a well‑ventilated space. Follow the step‑by‑step method: shut down, remove filters, blow dust from top to bottom, use a soft brush for stubborn spots, and wipe down surfaces with a dry microfiber cloth.
Beyond cleaning, adopt preventive habits. Maintain positive air pressure inside your case, add magnetic dust filters to every intake fan, and keep your computer off the floor. A quick monthly inspection of the dust filters takes less than two minutes and can dramatically reduce how often you need a full‑scale cleaning.
Make PC dust removal a regular part of your routine. Your processor, graphics card, and fans will reward you with lower temperatures, less noise, and years of reliable performance. Your machine – and your wallet – will thank you.
Related posts:
![Display Backlight Service Program]()
How to Check If Your Device Qualifies for the Display Backlight Service Program?
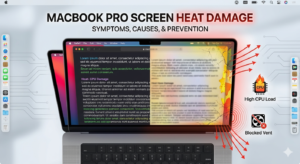
![MacBook Pro Screen Heat Damage ifixit.org.uk]()
What Is Everything You Need to Know About MacBook Pro Screen Heat Damage?
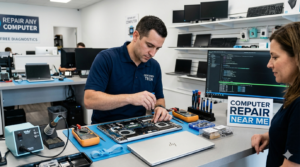
![How to Find Reliable Computer Repair]()
How to Find Reliable Computer Repair: A Comprehensive Guide to Troubleshooting and Professional Supp...
![How to Fix an HP Notebook Computer Battery That Is Not Charging]()
How to Fix an HP Notebook Computer Battery That Is Not Charging?
![How to Fix Overheating Issues on HP Omen and Victus Gaming Laptops]()
How to Fix Overheating Issues on HP Omen and Victus Gaming Laptops?
![How to Fix Screen Problems on a MacBook Pro]()
How to Fix Screen Problems on a MacBook Pro and Restore Normal Display Performance
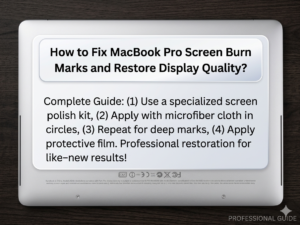
![How to Fix MacBook Pro Screen Burn Marks and Restore Display Quality?]()
How to Fix MacBook Pro Screen Burn Marks and Restore Display Quality?
![Microsoft Surface Laptop 3 Screen Crack: ifixit.org.uk]()
Microsoft Surface Laptop 3 Screen Crack: Comprehensive Guide to Causes, Repair Options, and Preventi...