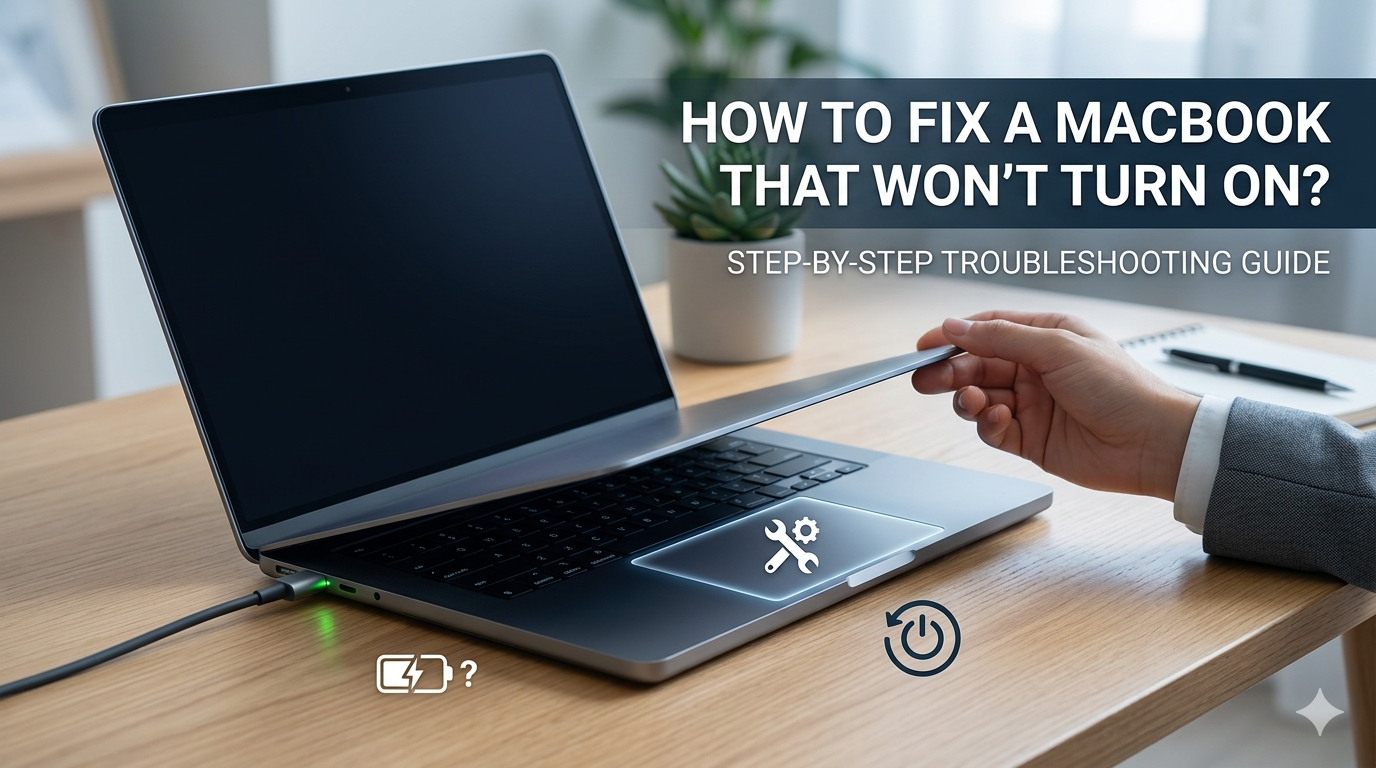
It is a moment every Mac user dreads: you press the power button or open the lid of your MacBook, and nothing happens. The screen remains black, there is no reassuring chime, and no whirring fan. Before panic sets in and you assume your expensive device has suffered a fatal hardware failure, it is important to know that a blank screen does not always mean a dead computer.
Often, a MacBook that refuses to boot up is simply experiencing a minor power glitch, a crashed display, or a temporary software lockup. By following a systematic, step-by-step troubleshooting process, you can isolate the root cause and potentially bring your machine back to life right at home.
This comprehensive guide covers everything from basic power checks to advanced diagnostic modes, ensuring you can confidently troubleshoot your MacBook and get back to work.
Understanding the “No Power” vs. “No Boot” Dilemma
Before diving into the fixes, it is crucial to determine exactly what your laptop is doing. Technicians categorize a non-responsive computer into two distinct issues:
-
No Power: The MacBook shows absolutely no signs of life. There are no lights, no fan noises, no haptic feedback on the trackpad, and the screen is completely dead.
-
No Boot (or No Video): The computer actually turns on—you might hear the fans spin, feel the trackpad click, or hear the startup chime—but the screen remains entirely black, or it gets stuck on a loading bar, an Apple logo, or a flashing question mark.
Knowing which issue you are facing will help you choose the right troubleshooting steps below.
Step-by-Step Guide to Reviving Your MacBook
If your MacBook is completely unresponsive, work your way through these steps sequentially, starting with the easiest and most common fixes.
1. Verify the Power Connection and Hardware Basics
It sounds obvious, but a drained battery combined with a faulty peripheral or a dead wall outlet is the culprit behind a massive percentage of unbootable computers.
-
Check the Outlet: Plug a different device, like a lamp or phone charger, into the wall outlet to ensure the socket is supplying electricity.
-
Inspect the Cable and Adapter: Look closely at your USB-C or MagSafe cable for any signs of fraying, kinks, or burn marks. Ensure you are using the official Apple power adapter or a certified high-quality alternative that provides the correct wattage for your specific model.
-
Look for the Charging Light: If your MacBook uses a MagSafe charger, check the LED indicator. An amber light means it is charging; a green light means it is fully charged. No light at all indicates that no power is reaching the laptop.
-
Disconnect All Peripherals: Unplug external monitors, hard drives, USB hubs, printers, and even your mouse. A shorted wire in an external device or an overloaded USB hub can trip a safety mechanism in the logic board, preventing the system from powering on.
2. Perform a Hard Power Cycle
If your system ran into a severe software crash while sleeping, it might be stuck in a state where it refuses to acknowledge the power button. Force-restarting the system clears the volatile memory and resets the power state.
-
For MacBooks with Physical Power Buttons/Touch ID: Press and hold down the Power button (or the Touch ID button in the top right corner of the keyboard) for a full 10 seconds. Release it, wait a few seconds, and then press it normally once again to turn it on.
-
For Older MacBooks with Mechanical Buttons: Follow the same process—hold for 10 seconds to cut any residual power loop, then attempt a normal boot.
Advanced Hardware Resets for Intel-Based MacBooks
If basic power checks fail and you are using an older Intel-based model (released prior to late 2020), resetting the underlying system chips can resolve deep-seated power distribution and display management errors.
Note: If you own a modern Apple Silicon MacBook (M1, M2, or M3 chips), these manual reset steps do not apply. Apple Silicon chips handle these functions automatically during a standard restart.
How to Reset the SMC (System Management Controller)
The SMC manages low-level hardware settings, including thermal management, battery charging, sleep/wake functions, and the power button response.
| MacBook Type | Reset Method |
| MacBooks with the T2 Security Chip (Intel 2018–2020) | Turn off the Mac. Press and hold the Left Control, Left Option (Alt), and Right Shift keys for 7 seconds. Without releasing them, press and hold the Power Button as well. Hold all four keys for another 7 seconds, release them, wait a few seconds, and turn on the laptop. |
| Intel MacBooks without T2 / Non-Removable Battery | Shut down. Press and hold Shift, Control, and Option on the left side of the keyboard, then press the Power Button simultaneously. Hold for 10 seconds, release all keys, and press the power button to start up. |
How to Reset the NVRAM or PRAM
NVRAM (Non-Volatile Random-Access Memory) stores temporary system settings like speaker volume, screen resolution, startup disk selection, and recent kernel panic logs. If the screen is black but you hear signs of life, clearing this memory can fix it.
-
Shut down your Mac completely.
-
Press the power button, and immediately press and hold these four keys together: Option, Command ($⌘$), P, and R.
-
Keep holding the keys for about 20 seconds. You may hear the startup chime play a second time or see the Apple logo flash twice.
-
Release the keys and let the machine boot up normally.
Diagnosing Display and Boot Issues
If you can hear your computer running but the screen remains entirely blank, or if it boots up to a strange icon, your hardware is getting power, but the software or display pipeline is broken.
The Screen Brightness Trick
It is entirely possible that your laptop is on, but the screen brightness is turned all the way down to zero. Press the F2 key (or use the brightness slider on the Touch Bar if it illuminates) to turn the display brightness up. Alternatively, shine a bright flashlight directly at the center of the screen at a close angle. If you can faintly see the outline of your login window or desktop under the flashlight, your backlight inverter has failed, and the computer requires professional repair.
Booting into Safe Mode
Safe Mode prevents certain software, such as login items, system extensions, and third-party fonts, from loading during startup. It also performs a basic check of your startup disk.
-
For Apple Silicon (M-Series): Press and hold the power button until you see the “Loading startup options” window. Select your primary hard drive, press and hold the Shift key, and click Continue in Safe Mode.
-
For Intel Macs: Turn on or restart your Mac, then immediately press and hold the Shift key until the login window appears.
If your computer boots successfully in Safe Mode, a third-party software application or driver you installed recently is causing the system to crash upon startup. Uninstall any recent apps or login items to fix the issue permanently.
Utilizing macOS Recovery for Deep System Repairs
If your computer turns on but displays a flashing question mark folder, a circle with a slash through it, or fails to load the operating system completely, you will need to utilize the built-in macOS Recovery Partition to repair the drive.
Entering macOS Recovery Mode
-
On Apple Silicon: Shut down the computer. Press and hold the power button until the startup options screen appears. Click the gear icon labeled Options, then click Continue.
-
On Intel Macs: Turn on the computer and immediately press and hold Command ($⌘$) + R until you see an Apple logo or a spinning globe.
Running First Aid via Disk Utility
Once the macOS Recovery screen loads, follow these steps to check your internal storage drive for corruption:
-
Select Disk Utility from the utilities window and click Continue.
-
Click View > Show All Devices in the top menu bar.
-
Select your internal startup disk (usually named Macintosh HD) from the sidebar.
-
Click the First Aid button at the top of the window, and hit Run.
-
Disk Utility will scan the file system structure and repair any errors it finds. Once completed, restart your Mac.
When to Seek Professional Assistance
If you have completed every troubleshooting step in this guide—checked your cables, performed hard power cycles, reset the hardware parameters, and attempted to enter Recovery Mode—and your device still exhibits no signs of life, you are likely dealing with a physical component failure. Common hardware culprits include:
-
A completely failed or swollen Lithium-ion battery.
-
A blown fuse or short-circuit on the logic board due to liquid exposure.
-
A broken display flex cable (often referred to as “Flexgate”).
-
A faulty power button or keyboard assembly.
In these instances, it is highly recommended to schedule an appointment with an authorized technician or visit an Apple Store to diagnose the precise component failure without risking further internal damage to your device.
Comparing Troubleshooting Approaches
Depending on the age of your laptop, the steps required to address an unbootable system change significantly. The table below outlines the core differences in approach based on the device architecture.
| Feature / Fix | Intel-Based Architecture (Pre-2020) | Apple Silicon Architecture (M-Series) |
| System Management Reset | Requires manual SMC key combinations. | Automatic during hardware restart cycles. |
| Memory Clears | Manual NVRAM/PRAM key combinations required. | Handled natively by the system bootloader. |
| Recovery Mode Access | Triggered by holding Cmd + R immediately at startup. |
Triggered by holding down the physical Power button. |
| Primary Failure Points | Power regulation, corrupted NVRAM, battery aging. | Firmware lockup, system software corruption. |
Summary of Actionable Takeaways
To maximize your chances of fixing a non-responsive laptop safely, keep these primary diagnostic steps in mind:
-
Always eliminate basic power variables first by testing different outlets, cables, and brick modules.
-
Disconnect all external accessories to prevent minor electrical shorts from locking up the system logic board.
-
Determine if the issue is a complete lack of power or a failure to display images by testing haptic feedback and fan noises.
-
Use the appropriate hardware key combinations to reset the system architecture if you are operating an older Intel model.
-
Keep your system updated and periodically check disk health using the built-in recovery partition options to avoid sudden boot failures.
For tech enthusiasts who use specialized hardware configurations or unique computing setups, resolving complex system interfaces can sometimes require looking into advanced external peripherals, such as configuring a mobile triple screen setup simracing setup to test display outputs via alternative docking stations. Ensuring your ports are fully operational and clean is a critical step in keeping peripheral configurations running smoothly.
Conclusion
Encountering a MacBook that refuses to turn on is undoubtedly stressful, but systematically isolating the issue through foundational power checks, external peripheral removal, and targeted key combination resets will resolve the problem in the vast majority of cases. By understanding the core distinctions between power loss and boot errors, you save time and avoid unnecessary repair expenses. If the device remains completely unresponsive after attempting these fixes, it is the perfect time to let certified professionals evaluate the internal logic board to restore your machine safely.
Related posts:
![Display Backlight Service Program]()
How to Check If Your Device Qualifies for the Display Backlight Service Program?
![MacBook Pro Screen Heat Damage ifixit.org.uk]()
What Is Everything You Need to Know About MacBook Pro Screen Heat Damage?
![How to Find Reliable Computer Repair]()
How to Find Reliable Computer Repair: A Comprehensive Guide to Troubleshooting and Professional Supp...
![How to Fix an HP Notebook Computer Battery That Is Not Charging]()
How to Fix an HP Notebook Computer Battery That Is Not Charging?
![How to Fix Overheating Issues on HP Omen and Victus Gaming Laptops]()
How to Fix Overheating Issues on HP Omen and Victus Gaming Laptops?
![How to Fix Screen Problems on a MacBook Pro]()
How to Fix Screen Problems on a MacBook Pro and Restore Normal Display Performance
![How to Fix MacBook Pro Screen Burn Marks and Restore Display Quality?]()
How to Fix MacBook Pro Screen Burn Marks and Restore Display Quality?
![Microsoft Surface Laptop 3 Screen Crack: ifixit.org.uk]()
Microsoft Surface Laptop 3 Screen Crack: Comprehensive Guide to Causes, Repair Options, and Preventi...