In today’s interconnected world, the ability to access and control a Mac from a distance has become essential for both personal and professional use. Whether you’re troubleshooting a family member’s computer, collaborating with colleagues, or managing multiple devices across locations, screen sharing for Mac OS X provides a built-in, reliable solution. This native feature leverages the VNC (Virtual Network Computing) protocol, allowing users to view and control another Mac’s screen securely and efficiently.

This detailed guide will walk you through everything you need to know about screen sharing for Mac OS X, from initial setup to advanced usage scenarios. By the end, you’ll be equipped to harness this powerful tool confidently.
What Is Screen Sharing on Mac OS X and Why Use It?
Screen sharing for Mac OS X is Apple’s integrated remote desktop functionality that lets one Mac display and control the screen of another. It works across local networks and, with proper configuration, over the internet, making it ideal for remote support, IT administration, and personal access.
Unlike third-party tools, it requires no additional software installation on Macs, reducing overhead and potential compatibility issues. It’s particularly useful for:
- Providing remote technical support to friends or family.
- Accessing your home or office Mac while traveling.
- Collaborating on projects in real-time.
- Troubleshooting software issues without physical presence.
Real-world scenario: Imagine your parent calls about a frozen application on their Mac. With screen sharing enabled, you can connect remotely, diagnose the problem, and fix it in minutes—no need for a house visit.
Benefits and Drawbacks of Screen Sharing for Mac OS X
Screen sharing for Mac OS X offers several advantages that make it a go-to choice for many users.
Key Benefits:
- Cost-Free and Native: No subscriptions or extra apps needed for basic use.
- High Compatibility: Works between various macOS versions.
- Secure Local Access: Strong encryption on local networks.
- File Transfer Support: Drag-and-drop files between connected Macs in newer versions.
- Low Latency on LAN: Feels nearly native when on the same network.
Potential Drawbacks:
- Internet Setup Complexity: Requires port forwarding or VPN for external access.
- Performance Over WAN: Can lag on slower connections compared to optimized third-party tools.
- Limited Cross-Platform: Best for Mac-to-Mac; VNC clients needed for other OS.
- Security Considerations: Exposing ports increases risk if not configured properly.
Overall, the benefits outweigh the drawbacks for most users within the Apple ecosystem, especially for occasional or local use.
Step-by-Step: Setting Up Screen Sharing on Mac OS X
Enabling screen sharing for Mac OS X is straightforward. Here’s how to do it on the host Mac (the one you want to access remotely).
- Click the Apple menu () in the top-left corner and select System Settings (or System Preferences on older macOS).
- Navigate to General > Sharing (scroll down if necessary).
- Toggle Screen Sharing to ON.
- Click the information icon (i) next to it for advanced options.
- Choose who can access: All users, Administrators, or specific accounts.
- Optionally, set a VNC password for added security under “VNC viewers may control screen with password.”
- Note your Mac’s computer name and local IP address (found in Sharing settings or via Terminal with hostname and ifconfig).
Expert Tip: For better security, create a dedicated standard user account for remote access instead of using an admin account. Keep the Mac awake by adjusting Energy Saver settings to prevent sleep.
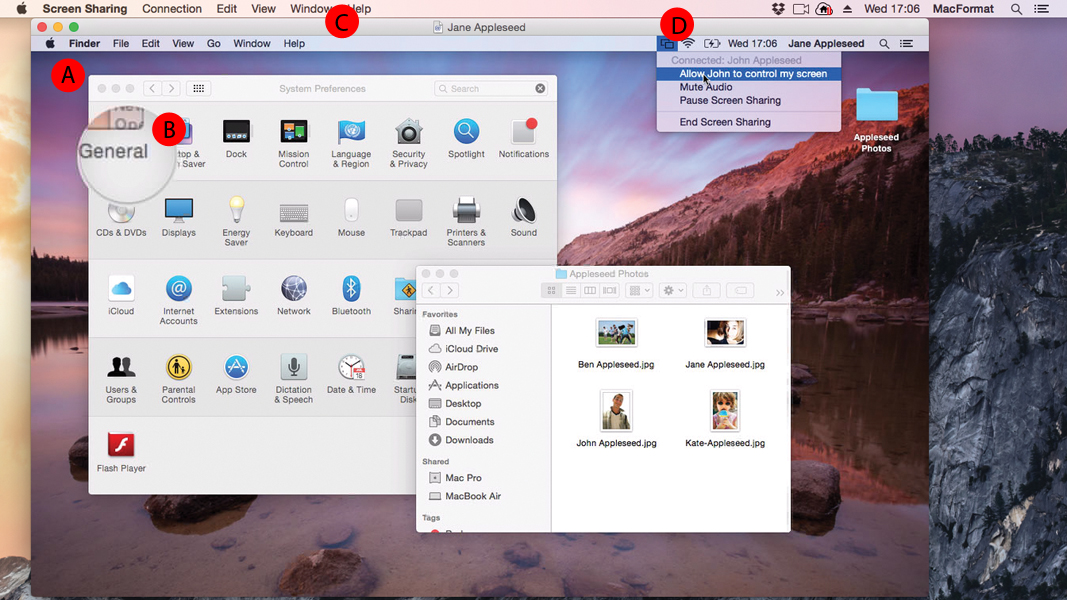
How to Connect and Use Screen Sharing for Remote Access
Once set up on the host, connecting from another Mac is simple.
On the Client Mac:
- Open the Screen Sharing app (search via Spotlight: Command + Space, type “Screen Sharing”).
- In the connection dialog, enter vnc:// followed by the host’s IP address or hostname (e.g., vnc://192.168.1.100 or vnc://yourmac.local).
- Authenticate with the username and password permitted on the host.
- Choose to control or observe the screen.
For external access beyond the local network, options include:
- Using Apple ID for easier connections in recent macOS.
- Setting up port forwarding on your router for port 5900 (VNC default).
- Employing a VPN for secure tunneling.
Practical Example: A freelance designer working from a cafe can connect to their studio iMac using the Screen Sharing app to retrieve files and continue editing seamlessly.
Advanced Features and Customization Options
Screen sharing for Mac OS X includes several enhancements for power users.
Permission Controls
- Restrict to specific users or groups.
- Allow or deny clipboard access, file transfers, and more.
High-Performance Mode
Newer macOS versions support improved performance with lower latency, HDR, and better audio routing.
Multi-User Sessions
Multiple observers can connect simultaneously for collaborative troubleshooting.
Actionable Advice: Test connections locally first before configuring remote access. Use tools like ping to verify network reachability.
Troubleshooting Common Screen Sharing Issues
Even the best tools encounter hiccups. Here are solutions to frequent problems:
- Connection Refused: Ensure Screen Sharing is enabled and firewall allows port 5900. Restart the Sharing service.
- Lag or Poor Performance: Reduce screen resolution on the host, close bandwidth-heavy apps, or use a wired connection.
- Authentication Failures: Verify user permissions and passwords. Check for conflicting Remote Management settings (only one can be active).
- Can’t See the Remote Mac: Confirm both devices are on the same network or properly configured for WAN access. Use Bonjour (hostname.local) for local discovery.
- Black Screen or No Control: Grant Screen Recording permissions in Privacy & Security settings on newer macOS.
Pro Tip: If issues persist, restart the NetAuthAgent process via Activity Monitor or reboot the host Mac.
Comparing Screen Sharing to Third-Party Alternatives
While screen sharing for Mac OS X excels in simplicity, alternatives like TeamViewer, Splashtop, or AnyDesk offer features such as unattended access, mobile support, and easier WAN connectivity.
| Feature | Native Screen Sharing | TeamViewer / Splashtop |
|---|---|---|
| Cost | Free | Subscription-based |
| Ease of WAN Setup | Moderate | Excellent |
| Performance | Good on LAN | Optimized for internet |
| Security | Strong with VPN | End-to-end encryption |
| Cross-Platform | Requires VNC client | Native apps |
Choose native for privacy-focused, in-ecosystem use; opt for third-party for frequent cross-device or business needs.
Security Best Practices for Screen Sharing
Security is paramount when using remote access:
- Always use strong, unique passwords.
- Enable firewall and consider VPN for external connections.
- Keep macOS and apps updated.
- Limit access permissions strictly.
- Monitor active sessions via Sharing settings.
Regularly review connected devices and revoke access when no longer needed.
Additional Use Cases and Expert Tips
Beyond basic support, screen sharing for Mac OS X shines in education, where teachers can demonstrate software on student Macs, and in small businesses for efficient IT management.
Expert Tips:
- Combine with file sharing services for complete remote workflows.
- Use keyboard shortcuts in the Screen Sharing window for efficiency (e.g., toggle control/observe).
- For mobile access, explore VNC viewer apps, though native experience is Mac-centric. Consider enhancing your setup with a mobile triple screen setup simracing for advanced multi-monitor productivity.
- Test different quality settings to balance performance and visuals.
Other informative resources include Apple’s official documentation on sharing screens and community discussions on platforms like Reddit.
For hardware enthusiasts, integrating remote tools with mobile triple screen setup simracing setups can transform workflows.
Additional trusted insights on remote desktop protocols can be found via Forbes technology coverage or practical VNC guides. Explore more on mobile triple screen setup simracing techniques.
Further reading on network optimization: Check comprehensive overviews at Wikipedia’s VNC page linked through mobile triple screen setup simracing resources for related tools.
For real-user experiences, browse forums or mobile triple screen setup simracing threads dedicated to Mac remote access.
Conclusion
Screen sharing for Mac OS X remains a versatile, powerful feature for remote access and support, blending simplicity with robust functionality. From easy local network connections to configured internet access, it empowers users to stay productive and helpful regardless of location.
Key takeaways include enabling the feature via System Settings, using the dedicated Screen Sharing app for connections, prioritizing security, and troubleshooting proactively. While it may not replace specialized tools for every scenario, its native integration makes it an excellent starting point for most Mac users.
Take action today: Set up screen sharing for Mac OS X on your devices and test a connection. Whether supporting loved ones or streamlining your workflow, this capability will save time and reduce frustration. For ongoing optimization, stay updated with Apple’s releases and experiment with complementary tools. Your remote Mac experience awaits—efficient, secure, and fully under your control.
Related posts:
![facebook video downloader facebook video downloader]()
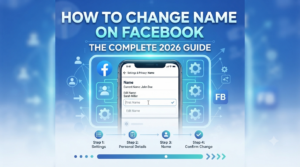
How to Change Name on Facebook: The Complete 2026 Guide
![Fix Orange Discoloration on MacBook Pro Screen]()
How to Fix Orange Discoloration on MacBook Pro Screen: Complete Guide to Causes & Solutions
![Google Gemini in 2026]()
What Is Everything You Need to Know About Google Gemini in 2026?
![fbi warns iphone android scams]()
Why the FBI Warns iPhone Android Scams Are Increasing
![What Should You Know About the iPhone 17 in 2026]()
What Should You Know About the iPhone 17 in 2026, Including Features, Specs, Price, Release Date, an...
![Best Free Password Managers ifixit]()
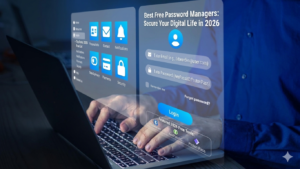
Best Free Password Managers: Secure Your Digital Life in 2026
![Snapchat Planets - ifixit]()
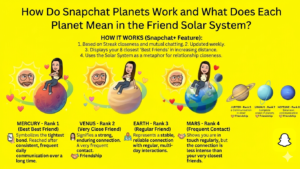
How Do Snapchat Planets Work and What Does Each Planet Mean in the Friend Solar System?
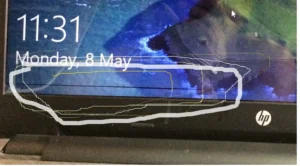
![What Causes Black Lines on Laptop Screen]()
What Causes Black Lines on Laptop Screen? A Complete Troubleshooting Guide