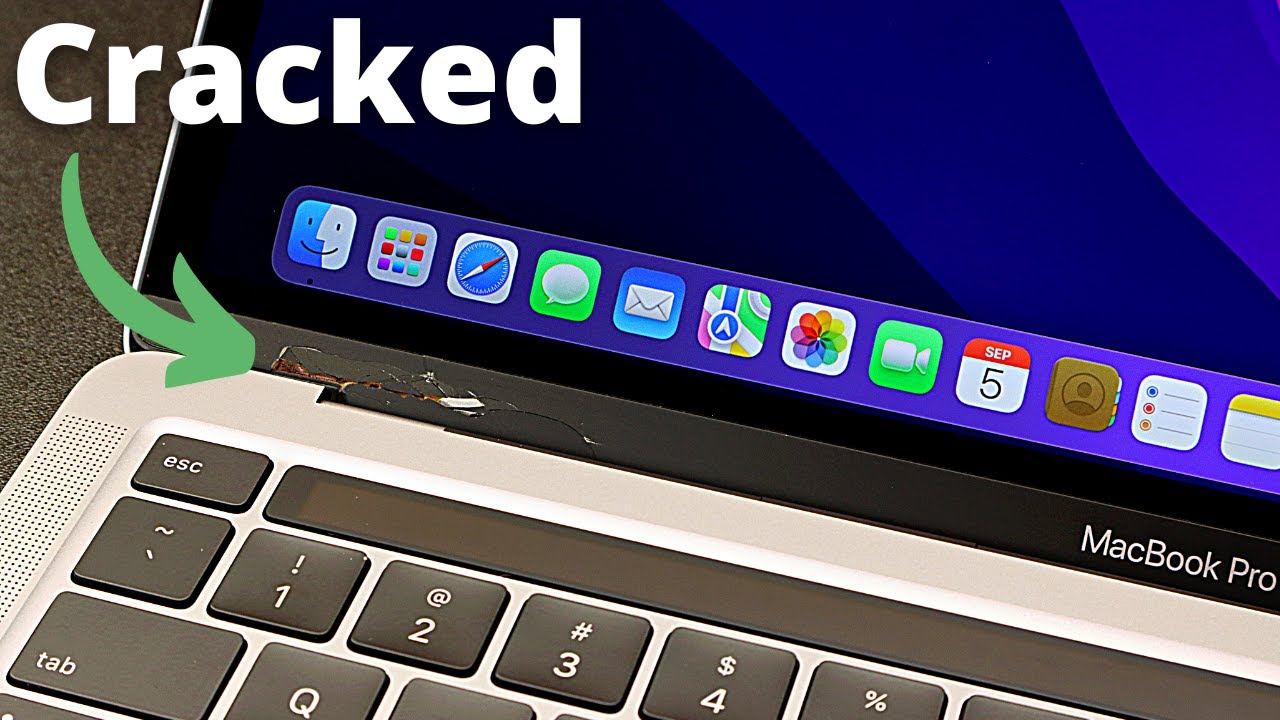
It is a moment every laptop owner dreads: you open your device, hear an unexpected snapping sound, and notice a visible hairline fracture snaking across the plastic frame surrounding your display. A cracked laptop bezel is one of the most common forms of physical damage a portable computer can face. Because the bezel is constantly subjected to mechanical stress every time the lid is opened or closed, a minor fracture can quickly turn into a catastrophic failure that threatens the internal display panel.
When faced with this problem, many manufacturers or commercial repair shops will tell you that the entire display assembly needs to be swapped out. This is a costly recommendation that can easily run into hundreds of dollars.
Fortunately, if your underlying LCD screen is completely functional, displaying images without lines, flickering, or color distortion, you do not need to replace the entire screen. By utilizing targeted DIY repair methods, you can repair a cracked laptop bezel yourself, saving money and preserving your existing display.
What Exactly Is a Laptop Bezel and Why Does It Crack?
Before diving into the actual repair solutions, it is essential to understand what the bezel is and why it fails. The laptop bezel is the outer plastic or composite border that frames your screen. While it serves an aesthetic purpose by hiding internal wiring, webcams, and microphone arrays, its primary function is structural support. It shields the delicate layers of your display panel from external impacts and acts as an anchor point for the lid’s mechanical integration.
Bezel damage rarely happens in a vacuum. The most common catalysts for a fracture include:
-
Hinge Resistance: Over time, the metal hinges that connect the laptop base to the display assembly can accumulate dust, lose lubrication, or suffer from over-tightened factory tolerances. When the hinges stiffen, the force required to open the laptop is transferred directly into the plastic bezel, causing it to snap.
-
Improper Opening Technique: Pulling the laptop lid open from the far left or far right corner twists the display assembly. This uneven distribution of torque places intense pressure on one side of the bezel frame.
-
Thermal Fatigue: Laptops generate considerable heat during operation. The constant cycle of warming up and cooling down causes the plastic bezel to expand and contract, making it brittle over time.
-
Accidental Drops or Impacts: Direct impacts can shatter or split the plastic perimeter, even if the underlying glass panel survives unscathed.
Top 5 Tips to Fix a Cracked Laptop Bezel Safely
If your laptop’s screen functions perfectly but the plastic border is compromised, these five actionable tips will help you restore structural integrity and cosmetic appearance without investing in a costly screen assembly.
1. Diagnose the Root Cause (Check the Hinges First)
Repairing a split in the plastic is completely useless if the underlying mechanical force that caused the fracture is left unaddressed. Before applying any adhesives or reinforcement, carefully observe the behavior of your laptop as you slowly open and close the lid.
Look closely at the area near the hinges. If you notice the plastic frame bowing, lifting, or separating from the back cover, your primary issue is a seized or broken hinge mechanism.
If the hinge mounts have ripped away from the plastic anchoring points inside the lid, you must repair or reinforce those internal screw bosses first. For those who use their hardware for intense tasks like running high-end simulations or navigating a complex mobile triple screen setup simracing rig, structural integrity is paramount.
The repetitive motion and vibration of adjusting screens can rapidly worsen an unaddressed hinge issue. Ensure the hinges rotate smoothly with uniform resistance before proceeding to any cosmetic or surface repairs.
2. Choose the Right Adhesive: Cyanoacrylate vs. Epoxy
When dealing with a fractured plastic perimeter, standard school glue or weak hot glue will not suffice. You need a bonding agent that can withstand the constant tension of the lid flexing.
-
Cyanoacrylate (Super Glue) with Baking Soda: For clean, tight hairline fractures where the plastic pieces sit perfectly flush, high-quality super glue works well. For added strength, you can apply a advanced technique: dusting a tiny amount of baking soda onto the wet super glue. This acts as a catalyst, initiating an instant chemical reaction that transforms the liquid into a rock-hard acrylic plastic compound capable of filling gaps.
-
Two-Part Epoxy Resin: For structural breaks, particularly those near the bottom corners or hinges, a two-part structural epoxy is far superior. Epoxy doesn’t just stick surfaces together; it creates a thick, resilient structural bridge over the break. Choose an epoxy formulated specifically for plastics, and ensure it cures to a neutral color (like black or clear) to match your laptop’s aesthetic.
3. Use Plastic Welding for Structural Fractures
For severe splits where the plastic has completely severed, simple surface gluing may fail after a few dozen open-and-close cycles. Plastic welding uses localized heat to fuse the broken edges back together on a molecular level.
To perform this safely, you must completely remove the bezel from the laptop. Never attempt plastic welding while the frame is attached to the device, as the heat from a soldering iron will permanently melt or scorch your underlying LCD panel.
Once the frame is removed, flip it over to work on the inside surface to keep the exterior cosmetics clean. Gently press the tip of a low-wattage soldering iron along the crack line, melting the plastic slightly so the two sides flow into one another. For added reinforcement, you can melt a fine piece of wire mesh or a small metal staple directly across the seam into the molten plastic, acting like rebar in concrete.
4. Apply a Structural Reinforcement Backing
If the crack is located in a high-stress area, such as directly above a hinge mount, reinforcing the hidden, interior side of the plastic border is a smart preventative measure. This distributes the mechanical forces across a wider surface area, preventing future failures.
After removing the frame, clean the interior channel thoroughly with isopropyl alcohol to remove oil and factory adhesives. Cut a thin, rigid strip of material—such as a piece cut from an old credit card, a thin slice of aluminum sheet, or heavy-duty fiberglass tape—to act as a splint.
Sand the splinting material lightly to roughen the surface, then embed it into a layer of two-part epoxy directly over the fractured zone on the inside of the bezel. Ensure the reinforcement is thin enough that it won’t interfere with the internal wiring or prevent the frame from snapping back flush against the laptop lid housing.
5. Execute Proper Clamping and Curing
One of the most common reasons a DIY repair fails is a lack of adequate pressure during the chemical curing process. Adhesives require uniform, undisturbed pressure to establish a maximum strength bond.
Use small, spring-loaded plastic clamps or padded binder clips to hold the fractured edges together tightly while the adhesive cures. To protect the exterior finish of your laptop from scratches or accidental adhesive squeeze-out, place small squares of wax paper or parchment paper between the clamps and the frame.
Allow the adhesive to cure for a minimum of 12 to 24 hours in a warm, dry room, regardless of what the “quick-dry” label on the product claims. Rushing to open the laptop lid before the bond achieves maximum tensile strength will immediately ruin your work.
Step-by-Step Guide: How to Safely Remove and Repair the Bezel
To execute these tips effectively, a structured approach is required. Follow this step-by-step procedure to ensure a clean, safe, and professional-grade repair.
Phase 1: Preparation and Disassembly
-
Power Down and Disconnect: Shut down the laptop completely, unplug the AC power adapter, and remove the internal battery if your model has a modular, user-accessible battery design.
-
Locate Hidden Screws: Examine the perimeter of the frame. Many modern laptops use pure pressure clips, but older or rugged designs often hide structural screws beneath cosmetic rubber cushions or plastic screw covers in the bottom corners. Carefully peel these back with tweezers and remove any hidden screws.
-
Unclip the Perimeter: Insert a thin plastic pry tool or guitar pick into the seam between the outer bezel and the metal or plastic back lid cover. Slowly slide the tool around the perimeter, gently twisting to release the internal plastic retaining tabs. Do not use metal screwdrivers, as they will gouge the plastic and can easily crack the edge of the glass display panel.
-
Manage Adhesive Strips: Be aware that many modern manufacturers apply double-sided tape along the inner border of the LCD panel. If you feel resistance, apply gentle, localized heat using a hair dryer on its lowest setting to soften the adhesive before pulling.
Phase 2: Cleaning and Adhesion
-
Sanitize the Break Zone: Clean the broken edges thoroughly using a microfiber cloth lightly dampened with 90% or higher isopropyl alcohol. This removes dust, fingerprints, and residual factory greases that would otherwise compromise the strength of your glue bond.
-
Align and Apply: Align the broken pieces so they fit together perfectly with no gaps. Carefully apply your chosen adhesive (Epoxy or Cyanoacrylate) along the fracture line using a toothpick for maximum precision.
-
Clamp and Set: Apply your padded clamps, check that the alignment remains true, and set the assembly aside in a safe location to complete the full curing cycle.
Repair Options Compared: DIY vs. Professional Replacement
When deciding whether to tackle a cracked laptop bezel on your own or take it to a professional technician, it helps to weigh the practical benefits against the potential risks.
| Factor | DIY Adhesive/Welding Repair | Professional Screen/Bezel Replacement |
| Financial Cost | Very Low ($5 – $20 for tools and adhesive) | High ($150 – $400+ for parts and labor) |
| Time Investment | 1–2 hours of work + 24-hour curing time | 3–7 business days dependent on parts shipping |
| Risk Factor | Moderate (Requires care around the LCD panel) | Very Low (Handled by certified technicians) |
| Cosmetic Result | Variable (Dependent on user skill and patience) | Flawless (Restores device to factory-new condition) |
| Structural Longevity | High (If reinforced with epoxy or plastic welding) | Maximum (Brand-new structural components) |
Benefits vs. Drawbacks of DIY Bezel Repair
Understanding both sides of the coin will help you set realistic expectations for your home repair project.
The Benefits
-
Massive Financial Savings: You avoid paying inflated manufacturer markup rates for entirely new display assemblies when only a cheap piece of perimeter plastic is broken.
-
E-Waste Reduction: By repairing individual components instead of discarding functioning electronic assemblies, you extend the lifespan of your device and reduce environmental waste.
-
Immediate Turnaround: You don’t have to ship your primary computer away to a repair depot for weeks at a time, allowing you to maintain productivity.
The Drawbacks
-
Cosmetic Imperfections: Unless you are exceptionally skilled with sandpaper, plastic filler, and matching paint, a repaired crack will often remain subtly visible under direct light.
-
Potential for LCD Damage: If you are careless with your tools, apply too much localized pressure, or spill running adhesive onto the display surface, you risk ruining a functioning screen, turning a cheap fix into an expensive disaster.
Summary of Actionable Takeaways
To ensure your home laptop repair is completely successful, keep these foundational rules in mind throughout the process:
-
Never assume the crack is purely cosmetic: Always check that the internal metal hinges spin freely and that the mounting points are secure before gluing the outer plastic shell.
-
Isolate the work area: Whenever possible, completely remove the plastic perimeter from the laptop frame to keep heat, chemical fumes, and running liquid adhesives far away from the delicate display panel.
-
Match the tool to the task: Use thin cyanoacrylate for tight hairline fractures, and opt for a robust two-part epoxy or plastic welding when dealing with major structural breaks.
-
Prioritize patience over speed: Let adhesives cure completely under uniform clamp pressure for a full 24 hours to guarantee the repair can handle the daily mechanical strain of opening and closing the laptop lid.
Conclusion: Making an Informed Repair Decision
A cracked laptop bezel does not mean your computer is reaching the end of its functional life, nor does it mean you should pay for a replacement screen assembly. By taking a methodical approach, diagnosing potential hinge issues, and selecting the correct bonding agents, you can successfully restore your laptop’s structural layout right at your own desk.
If you feel confident handling small components and exercising patience during the disassembly process, a DIY repair offers an empowering, highly cost-effective path forward that keeps your hardware in service and money in your pocket.
For other tech hardware maintenance needs, such as organizing peripheral setups or optimizing home office equipment, always apply the same systematic diagnostic steps before opting for expensive replacements.
Related posts:
![facebook video downloader facebook video downloader]()
How to Change Name on Facebook: The Complete 2026 Guide
![Fix Orange Discoloration on MacBook Pro Screen]()
How to Fix Orange Discoloration on MacBook Pro Screen: Complete Guide to Causes & Solutions
![Google Gemini in 2026]()
What Is Everything You Need to Know About Google Gemini in 2026?
![fbi warns iphone android scams]()
Why the FBI Warns iPhone Android Scams Are Increasing
![What Should You Know About the iPhone 17 in 2026]()
What Should You Know About the iPhone 17 in 2026, Including Features, Specs, Price, Release Date, an...
![Best Free Password Managers ifixit]()
Best Free Password Managers: Secure Your Digital Life in 2026
![Snapchat Planets - ifixit]()
How Do Snapchat Planets Work and What Does Each Planet Mean in the Friend Solar System?
![What Causes Black Lines on Laptop Screen]()
What Causes Black Lines on Laptop Screen? A Complete Troubleshooting Guide