What Are “Screen Burn Marks” on a MacBook Pro?
When most people search for “MacBook Pro screen burn marks,” they are describing one of several visual defects:
-
Faint ghost images of a menu bar, dock, code editor, or browser toolbar that linger after the content has changed.
-
Yellow, blueish, or dark patches that appear in the same spot regardless of what is on the screen.
-
Cloudy or stained-looking areas that can be seen most clearly on a plain white or grey background.
In strict technical terms, few of these are actual “burn-in.” True burn-in occurs only when pixel elements physically degrade, permanently losing their ability to emit or modulate light equally. That phenomenon is extremely rare on the Liquid Retina XDR mini-LED and standard LCD panels used in MacBook Pros. What you are far more likely to encounter is image retention (ghosting) —a temporary condition where the liquid crystals in an LCD panel temporarily “stick” in a stressed position, or pressure damage caused by foreign particles trapped between the keyboard and the display when the lid is closed.
Modern Display Technologies and Their Vulnerability to Burn Marks
Apple has used several different display technologies across the MacBook Pro lineup. Understanding which one your laptop has will tell you how worried you should be about permanent damage.
| Technology | Used In (MacBook Pro Models) | Risk of Permanent Burn-In | Primary Issue Users Report |
|---|---|---|---|
| Standard LCD | Pre-Retina models, some 13″ Intel models | Very low | Image retention, backlight bleed, pressure marks |
| Retina LCD (IPS) | 2012–2020 Retina models | Low (rare) | Image persistence, “ghosting” |
| Liquid Retina XDR (mini-LED) | 14″ and 16″ 2021–present | Extremely low | Temporary image retention only |
| OLED | (Not currently used in any MacBook Pro) | High — permanent burn-in possible | Not applicable |
As the table shows, no shipping MacBook Pro today uses OLED screens. That distinction is crucial: OLED panels are susceptible to permanent burn-in, because each pixel is its own self‑emissive light source and wears out unevenly over time. By contrast, the mini‑LED Liquid Retina XDR display is still an LCD at heart: it uses thousands of tiny LEDs only for backlighting; the liquid‑crystal layer that actually forms the image is very resistant to permanent damage. A South African repair service that has examined over 22,000 MacBook displays noted that fewer than 2% of the units they see develop true burn‑in; the rest experience temporary retention that resolves on its own.
The Three Root Causes of MacBook Pro Screen Burn Marks
Even if you only see a faint outline, the underlying cause could be any of three main culprits.
H3: 1. Temporary Image Retention (The Ghost That Goes Away)
This is the most common reason you might think your MacBook Pro has screen burn marks. It happens when the liquid crystals in the display panel are “exercised” in one position—showing the exact same image for hours—and take time to relax back to neutral. Heat, high brightness, and static elements like the menu bar or Dock all aggravate the condition.
-
Key sign: The ghost image fades after a few minutes (or up to a few hours) once you show a moving picture, video, or white full‑screen pattern.
-
What does not help: Restarting or resetting NVRAM will not clear image retention; only changing the displayed image over time will.
As one iFixit expert explains, LCD crystals can “lose their elasticity returning back to their neutral position” when stressed by static bright images. That is not permanent damage, though repeatedly forcing the same pattern for months or years can contribute to eventual pixel degradation on some older LCD panels.
2. Pressure Damage from Keyboard or Debris
A surprisingly large number of “burn marks” are actually physical dents in the LCD or its backlight caused by pressure. When you close the MacBook Pro lid, any speck of dust, a crumb, or a poorly placed keyboard cover can press against the back of the display. Over time, that concentrated force creates a visible light or dark spot.
-
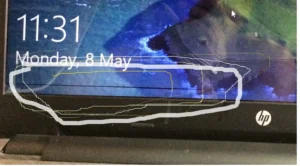
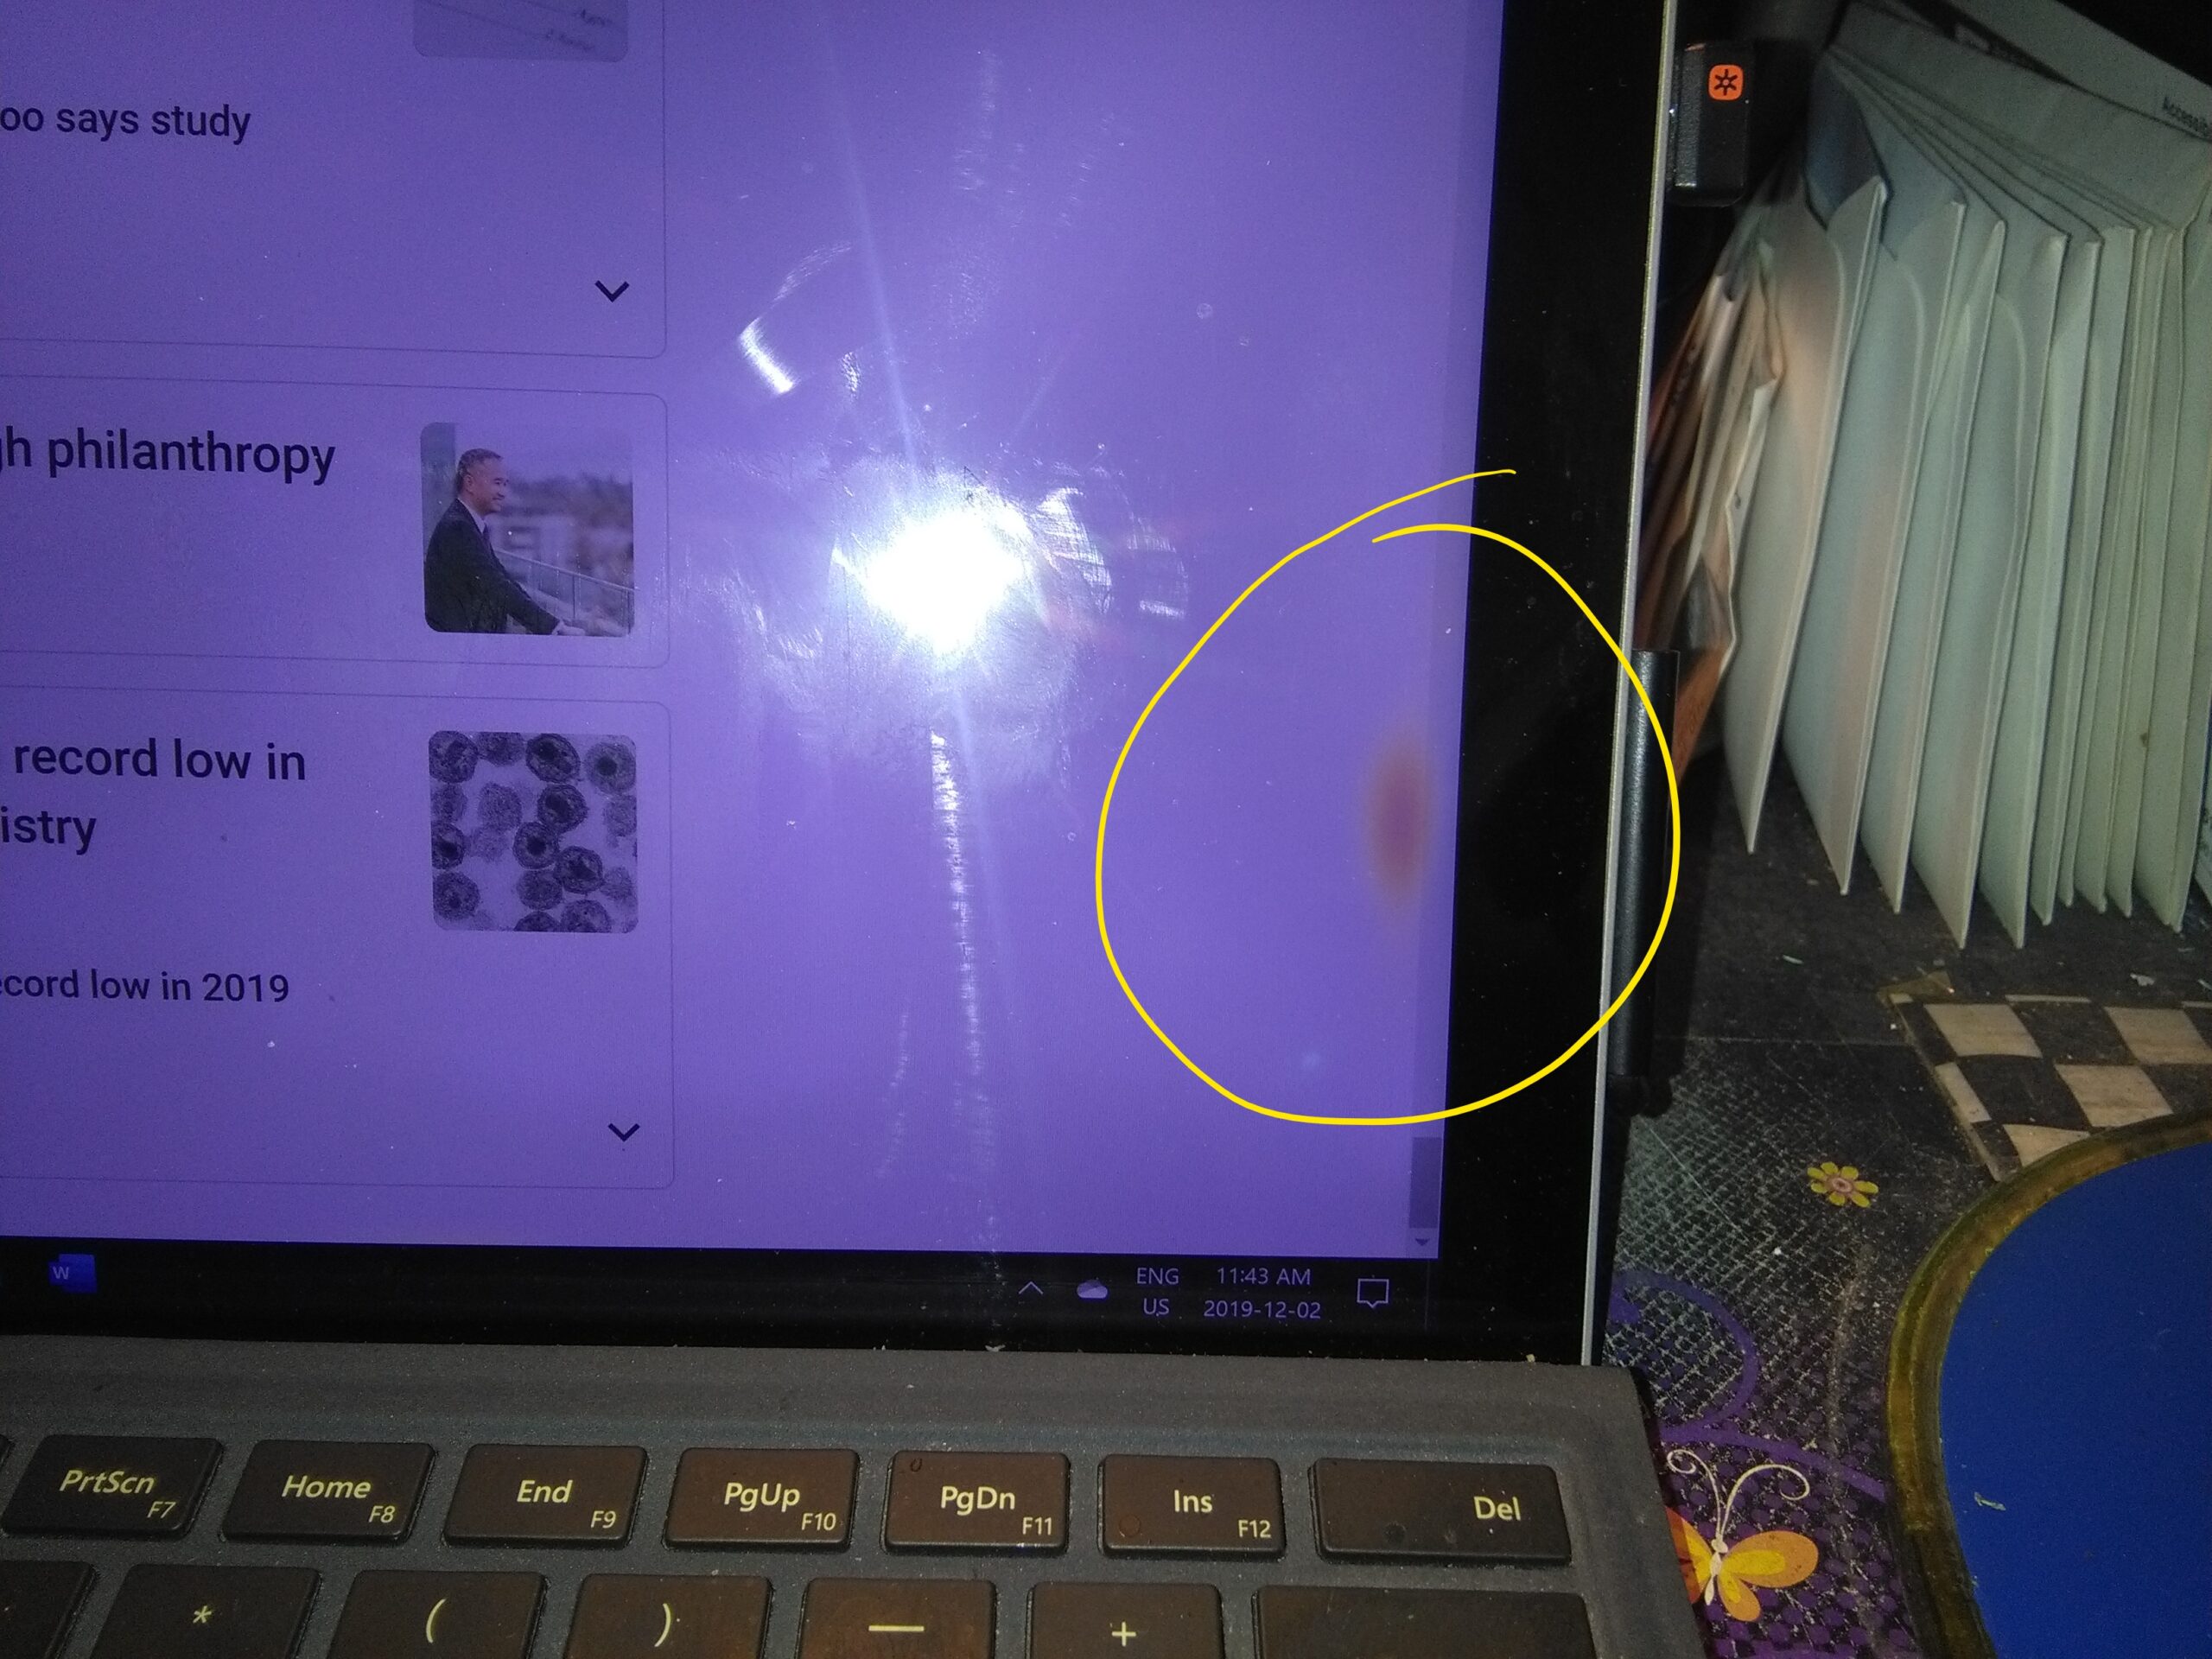
Typical appearance: A cluster of small, defined spots—often yellowish or dark in the middle—that follow the pattern of keyboard keys.
-
What to inspect: Open a plain white or mid‑grey background (e.g., a TextEdit window expanded to full screen) and look for repeating patterns. The shape of the spots often mirrors keycaps.
3. Antireflective Coating Delamination (“Staingate”)
On many Retina MacBook Pro models from roughly 2012 to 2017, the antireflective coating applied to the glass can wear away unevenly. This produces patchy, cloudy areas that are sometimes mistaken for MacBook Pro screen burn marks. Users and repair professionals dubbed the issue “Staingate,” and Apple eventually offered a free repair program for affected models.
-
Looks like: Irregular smudges or “stains” that cannot be wiped off with a microfiber cloth and do not go away when the screen content changes.
-
Solution: Replacement of the entire display assembly is the only fix, though Apple may cover it if your specific model qualifies.
4. Heat Stress or Backlight Damage
Excessive heat—either from the MacBook Pro’s own internal components or from direct sunlight—can discolor LCD panels. Similarly, a failing backlight or uneven LED mini‑LED zones can create dark corners or splotches that look like burn marks but are actually lighting failures.
H2: Mini‑LED vs. OLED: Why Future MacBook Pro Buyers Should Care
Apple is widely expected to transition some MacBook Pro models to OLED screens in the coming years. If you are considering a new machine, this matters because OLED burn‑in risk is fundamentally different from anything you have experienced on current MacBooks.
-
OLED burn‑in: Static elements (like the menu bar, Dock icons, or a stock ticker) wear out the blue or white sub‑pixels faster than the rest of the screen, leaving a permanent afterimage. On high‑brightness OLEDs used for office work, visible burn‑in can appear within 2–3 years.
-
Current mini‑LED: You essentially have no permanent burn‑in risk. The worst that happens is temporary image retention that resolves in minutes or hours, and the display is rated for 50,000+ hours of use.
If you are reading this article because you are worried about MacBook Pro screen burn marks, you can rest easy knowing that almost any modern (2021 or later) MacBook Pro is extremely robust. The same cannot be said for future OLED‑equipped models, so be aware of the trade‑off when you eventually upgrade.
Step‑by‑Step Diagnosis: Is It Software or Hardware?
Before paying for an expensive screen replacement, run through these four tests. They take less than 10 minutes and will tell you exactly what you are dealing with.
Test 1 — Restart and Observe
Click the Apple logo → Restart. When the MacBook boots up, look at the screen during the boot sequence (the Apple logo on a black or grey background).
-
If the burn mark is still perfectly visible during boot: The issue is hardware (pressure, coating, or pixel damage).
-
If the mark only appears after the desktop loads: It may be temporary image retention or a software‑related glitch.
Test 2 — Use a Plain White or Mid‑Grey Full‑Screen Background
Open TextEdit, press Cmd + Shift + T to enter full‑screen mode, and then choose Format → Make Plain Text. Press Cmd + A to select all, and change the text color to white. You now have a full white screen.
Look for discoloration, dark spots, or ghost images.
-
Spots that stay perfectly still: Likely physical pressure damage or coating wear.
-
Ghosts that fade after a few minutes: Classic image retention. Leave the white screen on for 30–60 minutes; the motionless white image will often “reset” the stressed crystals.
Test 3 — Take a Screenshot and Compare
Take a screenshot of your entire screen (Cmd + Shift + 3). Email that screenshot to your phone or another computer and view it there.
-
If the “burn mark” appears on the screenshot on the other device: The issue is software‑generated (corrupt graphics driver, weird colour profile, or a stuck window).
-
If the other device shows a perfectly clean image, but your MacBook Pro screen still shows the flaw: The problem is unquestionably hardware.
Test 4 — Connect an External Monitor
Plug your MacBook Pro into an external display or a TV via HDMI or USB‑C.
-
If the external monitor looks perfect but the built‑in screen still shows marks: you have confirmed a hardware fault on the internal display.
-
If the external monitor shows the same ghosting or burn marks: The GPU or graphics driver is the culprit (rare, but possible).
How to Fix MacBook Pro Screen Burn Marks (From Easiest to Most Expensive)
Your course of action will depend entirely on the diagnosis above. Do not skip the tests; many users waste hundreds of dollars replacing a screen that only had temporary image retention.
Fix 1: Clear Temporary Image Retention (Software)
If you have confirmed that you are seeing ghosting that fades over time, try these methods:
-
Change your desktop background from a complex image to a solid color, ideally a mid‑grey. A static complex image can actually reinforce retention; a uniform colour allows the crystals to reset more easily.
-
Run a full‑screen screensaver for 30–60 minutes. The Apple support community has long recommended using the built‑in Energy Saver settings to automatically turn off the display after a period of non‑use, which prevents the condition from occurring in the first place.
-
Use a pixel‑exercising program. Some utilities rapidly cycle colours across the entire screen. While they will not fix extreme hardware damage, minor ghosting often improves noticeably.
Fix 2: Adjust Settings to Prevent Recurrence
Once you have cleared the temporary retention, make these changes to keep it from coming back:
| Setting | Action | Why It Helps |
|---|---|---|
| Energy Saver | Set display to sleep after 10–15 minutes of inactivity | Prevents static images from being displayed for hours |
| Screen Saver | Enable a moving screen saver (e.g., Flurry, Arabesque) | Constant pixel motion prevents crystal “sticking” |
| Brightness | Avoid running at 100% brightness for long periods | Heat and high luminance accelerate retention |
| Dock & Menu Bar | Enable “Automatically hide and show the Dock” and “Auto‑hide menu bar” | Eliminates two of the most common static elements on screen |
Additionally, regularly rotate your wallpaper and use Dark Mode where possible. Dark themes reduce the overall luminance stress on the liquid crystals.
Fix 3: Replace the Display Assembly (Hardware Damage)
If you have physical pressure spots, permanent pixel damage, or a faulty backlight, the only genuine fix is a full display assembly replacement. Apple does not replace just the LCD panel or the glass; their service policy is to swap the entire top case (lid, display, hinges, and cables).
-
Through Apple / Apple Authorised Service Provider: Expect to pay between $450 and $750 USD for a 14‑inch or 16‑inch model, plus labour. With AppleCare+, the out‑of‑pocket screen damage fee drops to $99 or $129 (depending on model).
-
Through a reputable third‑party repair shop: Costs range from $300 to $600, but be aware that some third‑party displays may not support True Tone or automatic brightness adjustment, and Apple may refuse future service if a non‑genuine screen is detected.
-
DIY replacement using iFixit guides: iFixit offers detailed step‑by‑step screen replacement guides for nearly every MacBook Pro model. However, the procedure is extremely delicate—the display hinges have ribbon cables that are easily torn, and the adhesive securing the glass is very strong. iFixit rates most MacBook Pro screen replacements as “Difficult” or “Very Difficult.” Only attempt this if you have prior electronics repair experience.
Common Misconceptions That Lead to DIY Disasters
When confronted with MacBook Pro screen burn marks, users often turn to the internet for quick, home‑brew fixes. Some of those ideas can make the problem worse.
-
❌ “Massage the screen to loosen the crystals.” Do not apply pressure to your display. You risk creating new pressure spots or cracking the glass. LCDs are not mechanical devices.
-
❌ “Use a hair dryer to heat the panel.” Excessive heat can warp the thin polarising films inside the screen, causing permanent wave patterns or discoloration.
-
❌ “Rub the screen with alcohol or a cleaning solution.” Harsh solvents dissolve the antireflective coating. Use only a slightly damp microfiber cloth (water only) or a specialised screen cleaner designed for coated displays.
Costs of MacBook Pro Screen Burn Marks Repair in 2025–2026
Real repair costs vary widely by model, region, and whether you have AppleCare+. The table below provides realistic estimates based on current service provider data.
| Model / Situation | Approximate Cost (USD) | Notes |
|---|---|---|
| AppleCare+ (screen damage fee) | $99 – $129 | Unlimited incidents, per‑incident fee |
| Out‑of‑warranty (13″ Retina) | $300 – $500 | Includes labour at an Apple Store |
| Out‑of‑warranty (14″ or 16″ Liquid Retina XDR) | $600 – $800 | Premium panel cost |
| Third‑party repair shop | $250 – $600 | Varies; may lose True Tone functionality |
| iFixit DIY replacement (part only) | $250 – $500 | No labour, but requires skill |
Also check whether your specific MacBook Pro is covered by an Apple quality program. For example, certain 13‑inch MacBook Pro models had a backlight service program that could cover the repair for free.
Preventing MacBook Pro Screen Burn Marks Before They Appear
An ounce of prevention is worth a pound of screen replacement. These habits will keep your display looking pristine for years.
-
Keep your keyboard and screen clean. Dust, crumbs, or a misplaced keyboard cover are the leading causes of pressure spots. Before closing the lid, give the keyboard a soft brush or a blast of canned air. Wipe the screen gently with a microfiber cloth.
-
Never use hard keyboard covers or camera covers. Any foreign object between the keyboard and display when the lid is closed will concentrate pressure and create permanent white or yellow blotches. Apple explicitly warns against using camera covers on MacBooks because the tolerances are extremely tight.
-
Enable the “Turn display off after” setting. Go to System Settings → Lock Screen → Turn display off on battery/power adapter when inactive. Set it to 10 minutes or less.
-
Use a moving screen saver. Choose one that involves constant motion, such as “Flurry,” “Arabesque,” or a photo slideshow.
-
Auto‑hide static UI elements. In System Settings → Control Centre, enable “Automatically hide and show the menu bar.” In Desktop & Dock, enable “Automatically hide and show the Dock.” This simple step removes the two elements most likely to cause retention.
-
Avoid maximum brightness for hours on end. High luminance stresses the liquid crystals and generates unnecessary heat inside the display assembly.
-
Rotate your wallpaper. Set your desktop picture to change every hour or daily from a folder of images. This guarantees that no single static pattern is displayed for too long.
By following these practices, you will reduce the chance of ever needing to search for MacBook Pro screen burn marks again.
Summary and Actionable Takeaways
-
Most “burn marks” on MacBook Pro screens are not permanent. What you see is likely temporary image retention (ghosting) that will fade if you show moving content for 30–60 minutes.
-
Perform the four diagnostic tests (restart, white background, screenshot, external monitor) before spending any money on repairs. That simple routine can save you hundreds of dollars.
-
True permanent burn‑in is extremely rare on current mini‑LED MacBook Pros but may become a concern once Apple transitions to OLED panels in future models.
-
If the damage is hardware‑related (pressure spots, coating delamination, pixel defects), the only reliable fix is a full display assembly replacement. Apple charges $600–$800 out of warranty; AppleCare+ reduces that to $99–$129.
-
Prevention is simple, free, and highly effective. Clean your keyboard and screen regularly, avoid hard keyboard covers, auto‑hide the Dock and menu bar, enable screen savers and display sleep, and vary your wallpaper.
Final call to action: Do not live with a distracting, ugly ghost image on your expensive MacBook Pro. Run the tests now, and if you find that the marks are truly permanent, schedule a repair through an authorised provider. Your display—and your daily computing experience—will thank you.
Frequently Asked Questions (FAQ)
Q: Can I fix MacBook Pro screen burn marks with software alone?
A: Only if the cause is temporary image retention. Changing your wallpaper, running a screensaver, or using pixel‑exercising software can clear ghosting. If you have physical pressure damage or coating wear, software will not help.
Q: My MacBook Pro is less than one year old. Will Apple replace the screen for free?
A: Apple’s standard one‑year limited warranty covers manufacturing defects, but it does not cover accidental damage, pressure spots from debris, or image retention if Apple deems it “normal IPS display behaviour.” That said, if the issue is widespread enough that Apple has issued a quality program for your specific model (e.g., “Staingate”), you may be eligible for a free replacement. Check Apple’s support site using your serial number.
Q: How long does temporary image retention last on a mini-LED Liquid Retina XDR display?
A: On modern 14″ and 16″ MacBook Pros, pixels typically recover fully within a few hours. You can accelerate recovery to 30–45 minutes by displaying a full‑screen white pattern or a dynamic video.
Q: Is it safe to use my MacBook Pro with a screen burn mark?
A: Yes. A visible ghost image or pressure spot is cosmetic; it will not spread, damage other components, or affect your data. However, if the display has a cracked backlight or shows flickering, have it serviced promptly.
Q: Will replacing my screen with a third‑party one void my warranty?
A: In most jurisdictions, Apple cannot void your entire warranty simply because you used a third‑party part—but Apple can refuse to service the display portion if the part is not genuine. More importantly, Apple’s diagnostic tools may flag a non‑original screen and disable True Tone, automatic brightness, and future OS‑level display calibrations. If you are within warranty or have AppleCare+, always go through Apple or an Apple Authorised Service Provider.
Related posts:
![facebook video downloader facebook video downloader]()
How to Change Name on Facebook: The Complete 2026 Guide
![Fix Orange Discoloration on MacBook Pro Screen]()
How to Fix Orange Discoloration on MacBook Pro Screen: Complete Guide to Causes & Solutions
![Google Gemini in 2026]()
What Is Everything You Need to Know About Google Gemini in 2026?
![fbi warns iphone android scams]()
Why the FBI Warns iPhone Android Scams Are Increasing
![What Should You Know About the iPhone 17 in 2026]()
What Should You Know About the iPhone 17 in 2026, Including Features, Specs, Price, Release Date, an...
![Best Free Password Managers ifixit]()
Best Free Password Managers: Secure Your Digital Life in 2026
![Snapchat Planets - ifixit]()
How Do Snapchat Planets Work and What Does Each Planet Mean in the Friend Solar System?
![What Causes Black Lines on Laptop Screen]()
What Causes Black Lines on Laptop Screen? A Complete Troubleshooting Guide