Introduction to iPhone 17e Back Glass Replacement
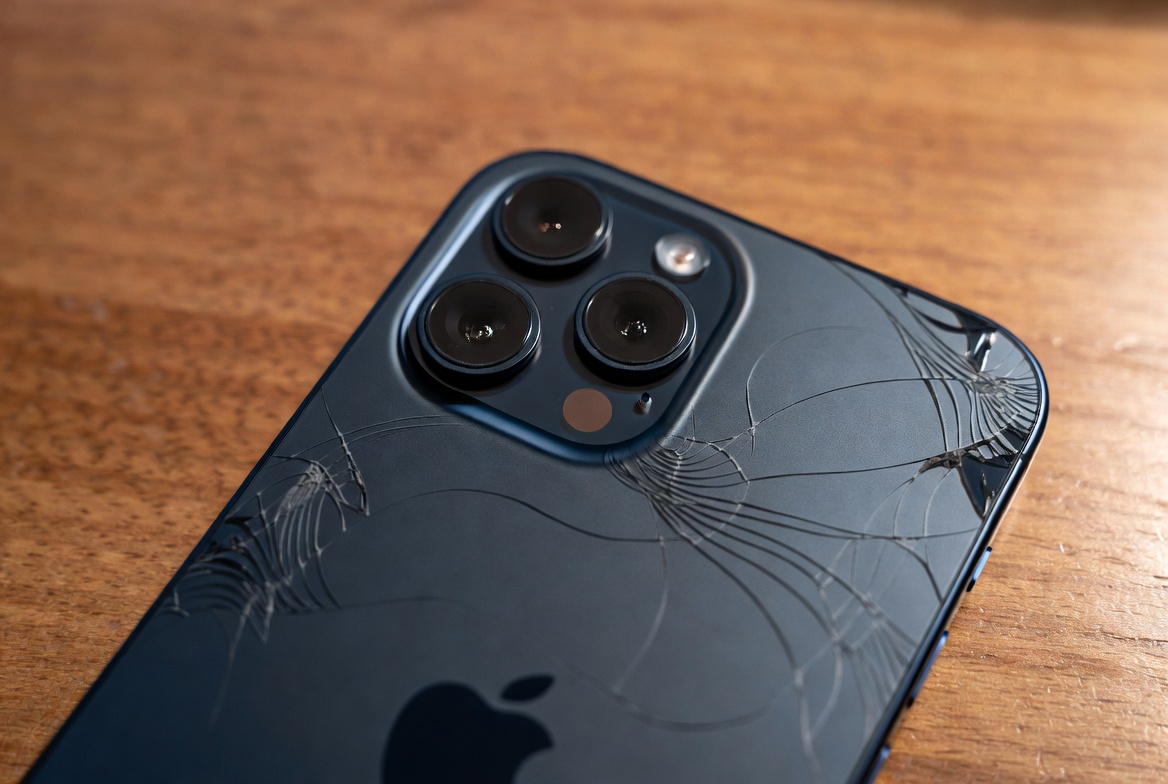
The iPhone 17e, released in March 2026, offers excellent value with its A19 chip, 48MP Fusion camera, Ceramic Shield 2 front glass, and a sleek glass back. Its premium matte-finished glass back provides a stylish look and supports MagSafe, but it remains vulnerable to cracks from drops.
iPhone 17e back glass replacement restores wireless charging, aesthetics, and protection. Many owners face this issue within the first year. This comprehensive guide covers tools, step-by-step instructions, costs, and tips for a successful repair.
Whether you’re a beginner or experienced, this article equips you with knowledge for an informed decision on DIY or professional service.
Why the iPhone 17e Back Glass Cracks and When to Replace It
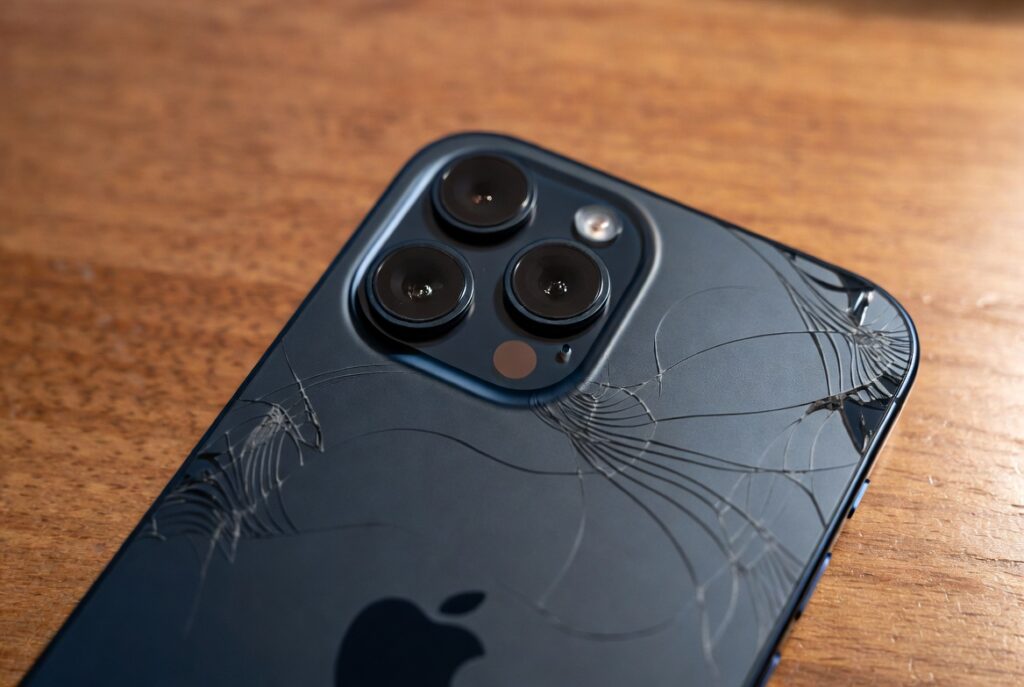
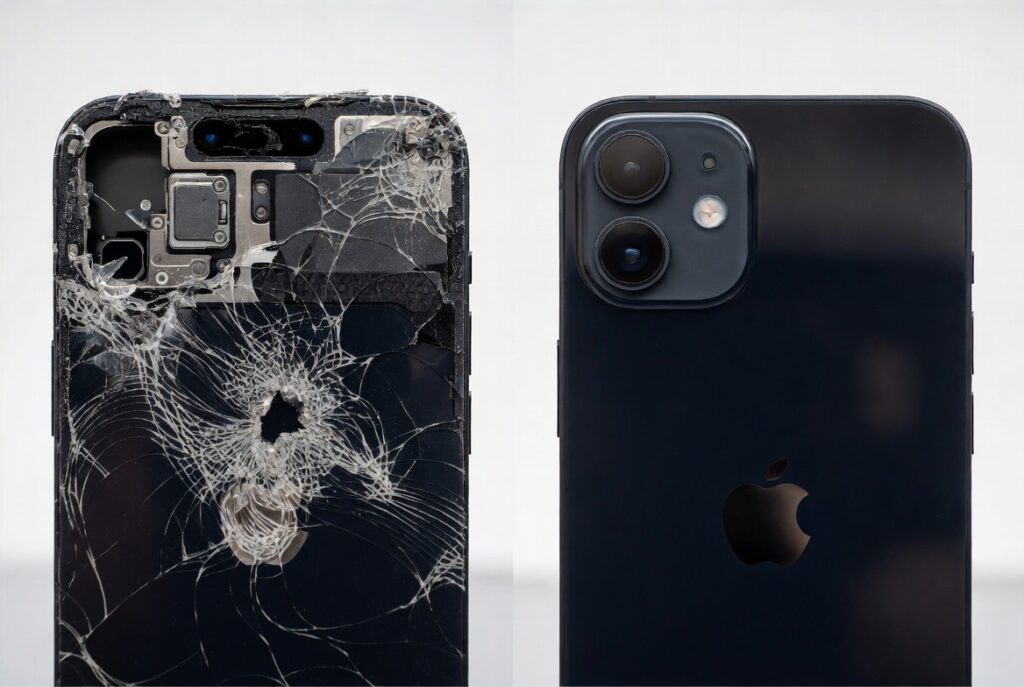
The iPhone 17e features a glass back with a matte finish in black, white, or soft pink. While durable, it isn’t as tough as the front Ceramic Shield 2. Drops onto hard surfaces often cause cracks, especially around edges or the camera area.
Signs you need iPhone 17e back glass replacement:
- Visible cracks or shattering
- Reduced or lost wireless/MagSafe charging
- Dust or moisture entering the device
- Compromised structural integrity
Replacing promptly prevents further damage to internal components like the battery or charging coil.
Benefits and Drawbacks of Repairing the Back Glass
Benefits:
- Restores full MagSafe and wireless charging functionality.
- Improves resale value and aesthetics.
- More cost-effective than buying a new phone.
- Eco-friendly by extending device life.
Drawbacks:
- DIY risks damaging internals if not done carefully.
- May void remaining warranty if not done via Apple.
- Professional repairs can take time and cost $100–$200+.
For most users, the benefits outweigh the drawbacks, especially with proper tools and caution.
Essential Tools for iPhone 17e Back Glass Replacement
A proper tool kit is crucial for success. Here’s a comprehensive list tailored for the iPhone 17e (similar to iPhone 17/16 series repairs).
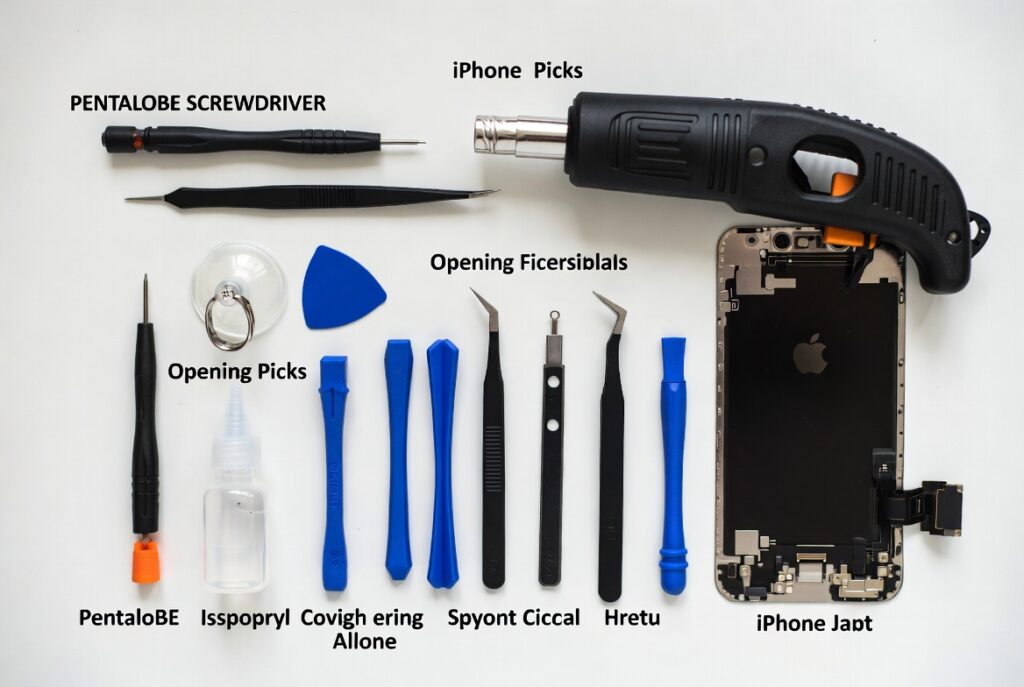
Must-Have Tools:
- P2 Pentalobe Screwdriver: For removing the two bottom screws.
- Heat Gun or iOpener/Hair Dryer: Softens adhesive without overheating internals.
- Opening Picks/Plastic Pry Tools: Safely separates the glass.
- Spudger: Non-conductive tool for disconnecting components.
- Suction Cup Handle: Lifts the glass panel.
- Tweezers (ESD-safe): Handles small parts.
- Isopropyl Alcohol (99%): Cleans adhesive residue.
- Replacement Back Glass Adhesive: Pre-cut strips or liquid glue (B7000 recommended).
- Torx/Tri-point Screwdrivers: For internal shields if needed.
Recommended Advanced Tools:
- Precision screwdrivers set
- Magnetic mat for organizing screws
- Anti-static wrist strap
- Glass breaking pen or laser separator (for pros)
Pro Tip: Invest in a quality kit from iFixit or similar. Cheap tools can strip screws or cause scratches.
| Tool | Purpose | Approximate Cost |
|---|---|---|
| Pentalobe Screwdriver | Remove bottom screws | $5–10 |
| Heat Gun | Soften adhesive | $20–50 |
| Opening Picks Set | Separate glass | $5–15 |
| Spudger & Tweezers | Pry and handle parts | $10–20 |
| Full Repair Kit | All-in-one solution | $30–80 |
Step-by-Step Guide to iPhone 17e Back Glass Replacement
Important Safety Note: Power off your device and drain the battery below 25%. Work in a clean, well-lit area. Back up your data first.
Step 1: Prepare the Workspace and Phone
Tape over cracks with clear packing tape to contain shards. Gather tools and a replacement back glass panel (ensure compatibility with iPhone 17e).
Step 2: Remove the Bottom Pentalobe Screws
Use the P2 screwdriver to remove the two screws next to the charging port.
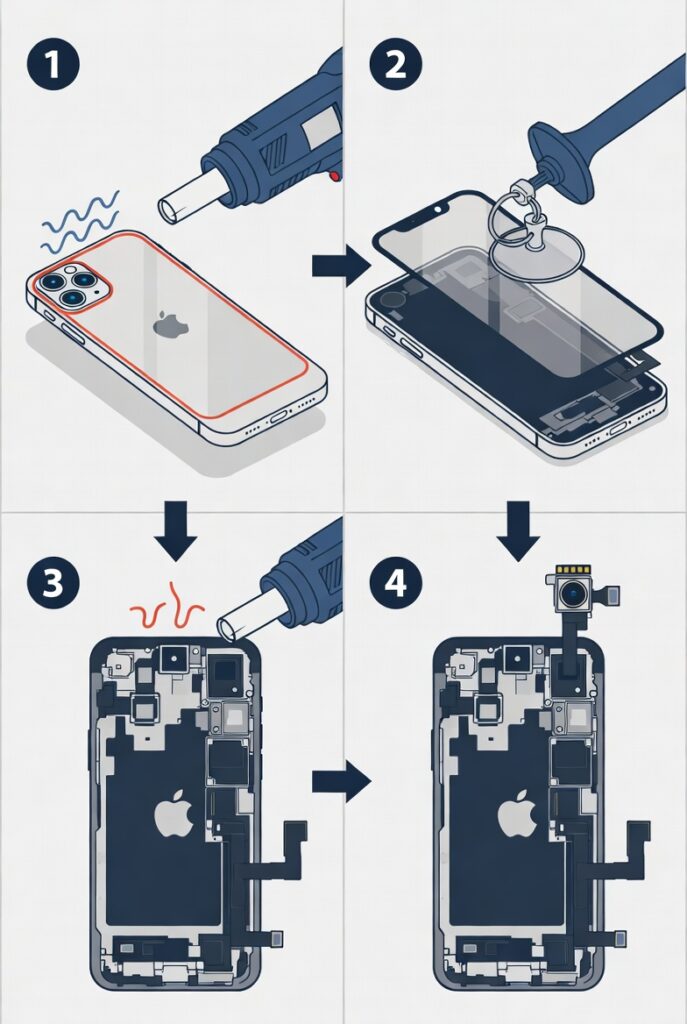
Step 3: Apply Heat
Use a heat gun or iOpener on the edges for 1–2 minutes to soften the adhesive. Avoid focusing on the camera or center.
Step 4: Lift and Separate the Back Glass
Attach the suction cup near the bottom. Gently lift and insert an opening pick. Slide picks around the perimeter, reheating as needed.
Step 5: Disconnect Internal Components (If Necessary)
For full access, you may need to disconnect the wireless charging coil carefully. Refer to detailed iFixit guides for visuals.
Step 6: Clean and Prepare
Remove old adhesive with alcohol and tweezers. Clean thoroughly.
Step 7: Install New Back Glass
Apply new adhesive. Align and press the new panel firmly. Use clamps if available for even pressure.
Step 8: Reassemble and Test
Reinsert screws. Test wireless charging, camera, and overall functionality. Use Apple’s Repair Assistant for calibration if using genuine parts.
This process typically takes 45–90 minutes for beginners.
Expert Tips for a Successful DIY Repair
- Work slowly — rushing leads to mistakes.
- Keep screws organized by location.
- Use low heat to avoid battery swelling.
- Watch video tutorials specific to the iPhone 17 series.
- If the glass is badly shattered, consider professional help.
Real-world scenario: A user dropped their iPhone 17e on concrete, cracking the back. Using a basic kit, they restored MagSafe charging in under an hour, saving significantly on repair costs.
Professional Repair Options vs. DIY
Apple Authorized Service: Costs around $159 for back glass damage (without AppleCare+). Reliable but pricier.
Third-Party Shops: Often $80–$150, using quality parts. Check reviews.
DIY: Lowest cost ($30–$100 for parts/tools) but higher risk.
Comparison:
- DIY: Cheaper, educational, but time-consuming.
- Pro: Faster, warranted, but costs more.
Choose based on your comfort level with electronics.
Common Mistakes to Avoid in iPhone 17e Back Glass Replacement
- Overheating the device.
- Forcing the glass, which can crack the frame.
- Losing or mixing up screws.
- Skipping adhesive cleanup, leading to poor fit.
Where to Buy Replacement Parts and Tools
Look for reputable sources:
- iFixit for high-quality kits and guides.
- Amazon for individual tools and back glass panels.
- Authorized Apple parts via self-service repair program.
Always verify compatibility with the iPhone 17e model.
Maintaining Your iPhone 17e After Repair
- Use a quality case with raised edges.
- Apply a tempered glass or skin protector if available.
- Avoid extreme temperatures.
- Regular cleaning prevents buildup.
Additional Considerations: Warranty, AppleCare+, and Environmental Impact
AppleCare+ can reduce back glass repair costs significantly. Repairing extends your device’s lifespan, reducing e-waste.
Conclusion
iPhone 17e back glass replacement is a manageable repair that restores your device’s functionality and appearance. With the right tools—like a pentalobe screwdriver, heat source, and opening picks—and careful steps, even beginners can succeed.
Key takeaways:
- Assess damage and your skill level before starting.
- Gather quality tools to minimize risks.
- Consider professional service if unsure.
- Proper maintenance prevents future issues.
By following this guide, you can make an informed decision and keep your iPhone 17e running like new. For more details, check trusted resources like iFixit guides.
External Resources: For official specs, visit Apple’s iPhone 17e page. Detailed repair guides are available on iFixit. Compare repair options on Wikipedia’s iPhone 17e entry. Shop tools on Amazon. Community discussions on Reddit.
Related posts:
![Apple iPhone 17e Unlocked by RedPocket Mobile]()
Apple iPhone 17e Unlocked by RedPocket Mobile: Best Budget Deal in 2026?
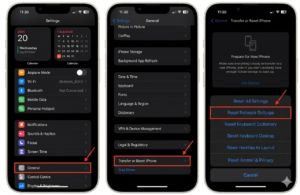
![How to Reset Network Settings on iPhone: Ifixit]()
How to Reset Network Settings on iPhone: The Complete 2025 Troubleshooting Guide
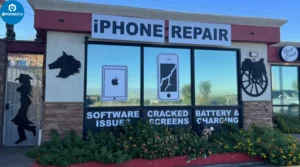
![How Can You Find a Reliable Phone Repair Service Near You]()
How Can You Find a Reliable Phone Repair Service Near You?
![How to Fix Android Phone Not Charging Properly ifixit.org.uk]()
How to Fix Android Phone Not Charging Properly: 2026 Troubleshooting Guide
![How to Fix iPhone Stuck on Apple Logo Screen?]()
How to Fix iPhone Stuck on Apple Logo Screen?
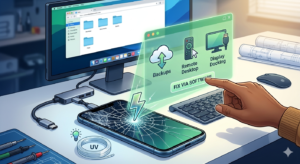
![Can You Fix a Broken Screen Without Replacing the Entire Device?]()
How Can You Fix a Broken Screen Without Replacing the Entire Device?
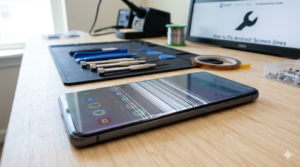
![ifixit.org.uk]()
How to Fix Horizontal Lines on Android Phone: Ultimate Troubleshooting and Repair Guide
![how to unhide apps on iphone]()
How to Unhide Apps on iPhone: A Complete, Step-by-Step Guide