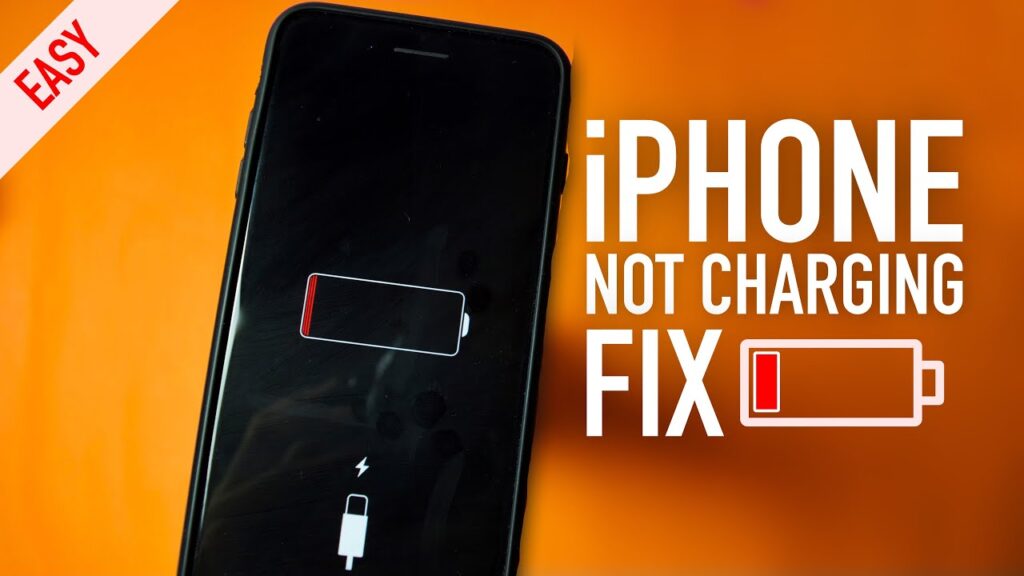
Many iPhone users run into a frustrating issue: plugging in the phone produces no response, slow charging, or intermittent charging. This guide explains why your iPhone not charging might be happening and gives clear, actionable steps to diagnose and fix the problem. The goal: help beginners and experienced users make the right choice—quick fixes, when to seek service, and how to cancel or change repair appointments if needed.
Common Reasons Your iPhone Not Charging
Short overview of the most frequent causes:
- Faulty or damaged Lightning/USB-C cable
- Defective power adapter or wall outlet
- Dirty or obstructed charging port
- Software glitches or frozen processes
- Battery health degradation (age, wear)
- Liquid or physical damage
- Accessory incompatibility (non-certified chargers)
- Wireless charging misalignment or case interference
Quick Checklist (Start Here)
- Try a different cable and adapter.
- Inspect and clean the charging port.
- Restart your iPhone.
- Test a different wall outlet or USB port.
- Check battery health (Settings > Battery).
- Try wireless charging (if supported).
- Update iOS to the latest version.
- Contact Apple Support or a certified repair shop.
Step-by-Step Diagnostic and Fixes
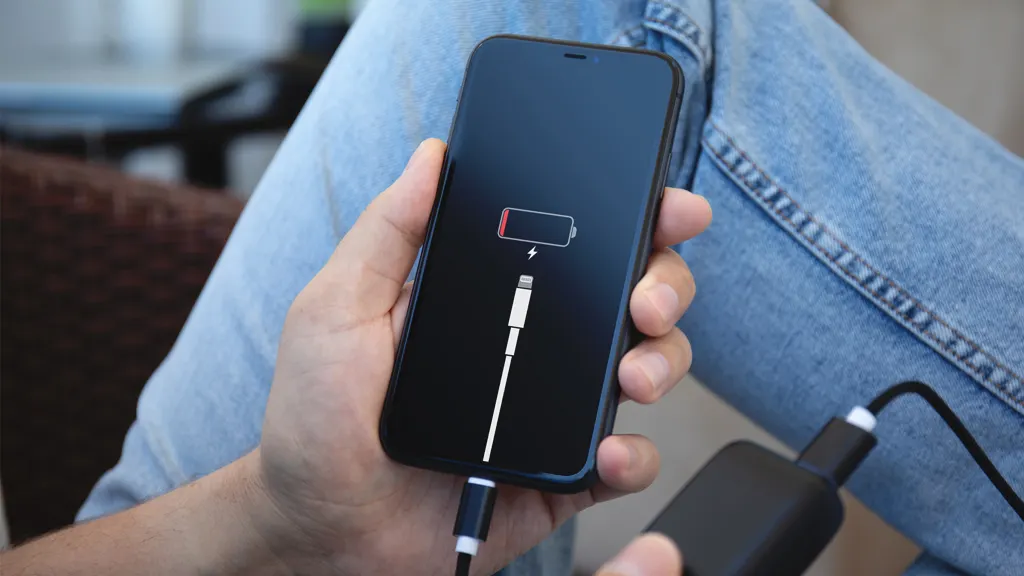
1. Inspect the Cable and Adapter
- Check for frayed wires, bent connectors, or discoloration.
- Swap in a known-good Apple-certified Lightning or USB-C cable and power adapter.
- Try charging from a laptop USB port and a wall outlet to rule out the power source.
2. Clean the Charging Port Carefully
- Look inside the Lightning or USB-C port using bright light.
- Use a soft, dry toothbrush, anti-static brush, wooden toothpick, or compressed air to gently remove lint or debris.
- Avoid metal objects that can short pins. Cleaning often resolves poor contact that causes iPhone not charging.
3. Restart or Force Restart Your iPhone
- A simple restart can clear temporary software issues causing the device to not charge.
- If unresponsive, perform a force restart (specific sequence varies by model). This often restores charging behavior.
4. Check Software and Settings
- Update iOS: Settings > General > Software Update.
- Disable Low Power Mode temporarily to see if behavior changes.
- If the iPhone shows “Accessory may not be supported,” try another certified accessory.
5. Inspect Battery Health
- Go to Settings > Battery > Battery Health & Charging.
- If Maximum Capacity is significantly reduced or you see a message that battery health is degraded, reduced charging performance may occur.
- Older batteries can cause slow charging or random shutdowns even when connected.
6. Test Wireless Charging (if applicable)
- Remove cases or metal mounts and position the iPhone correctly on a Qi wireless charger.
- Check for compatibility; some cases and magnetic mounts interfere with wireless charging.
- If wireless charging works, the port may be damaged.
7. Address Liquid or Impact Damage
- If the iPhone has been exposed to liquid, power it off and do not charge until fully dry. Liquid damage sensors may prevent charging.
- Look for corrosion in the port. Professional repair is often required for liquid or drop-related damage.
When to Try Advanced DIY Fixes vs. Professional Repair

DIY Fixes (Benefits and Drawbacks) Benefits:
- Often fast and low-cost (cleaning port, replacing cable).
- No appointment needed.
Drawbacks:
- Risk of further damage if you open the device.
- May void warranty or AppleCare if not authorized.
Professional Repair or Replacement (Benefits and Drawbacks) Benefits:
- Certified technicians can diagnose hardware issues, replace batteries, and repair ports safely.
- Apple authorized repairs preserve warranty and use genuine parts.
Drawbacks:
- Costlier and may require leaving the device for service.
- Appointment scheduling and possible wait times.
How to Cancel or Reschedule a Service Appointment (Cancellation Process)
If you scheduled an Apple Store or third-party repair appointment and need to cancel:
- For Apple Store appointments: Open the Apple Support app or visit the Apple website, go to “Upcoming Reservations,” select the appointment, and choose “Cancel” or “Reschedule.”
- For third-party repair shops: Use the shop’s cancellation policy—call or use their online booking portal. Note any cancellation windows to avoid fees.
- For mail-in service: Contact the provider immediately via their support line or portal. Cancel before shipping to avoid return or restocking charges.
Example cancellation scenario:
- You booked an iPhone battery replacement at an Apple Store but find a cable fix. Open the Apple Support app, tap Reservations, select the appointment, and press Cancel. You’ll receive an email confirmation.
Real-World Scenarios and Practical Examples
Scenario A: iPhone Not Charging After Beach Day
- Problem: Sand and debris lodged in the port.
- Fix: Power off, gently remove debris with a wooden pick, test with certified cable. If still not charging, check for liquid damage and seek professional service.
Scenario B: iPhone Shows “Charging Slowly”
- Problem: Using an older USB port or a low-power adapter.
- Fix: Use a higher-wattage Apple adapter (e.g., 18W or 20W) and a genuine cable. Check Battery Health for degradation; consider battery replacement if capacity is low.
Scenario C: Wireless Charging Works but Cable Doesn’t
- Problem: Damaged Lightning connector or port.
- Fix: Clean the port. If unresolved, book repair for port replacement.
Expert Tips and Actionable Advice
- Always use MFi-certified (Made for iPhone) cables and reputable adapters to reduce incompatibility messages and failures.
- Keep the charging port covered when not in use—use cases with port covers if you often carry the phone in pockets.
- Back up your iPhone regularly—especially before any repair or software troubleshooting.
- Monitor Battery Health periodically; replace the battery before critical failures occur.
- Use Apple Support diagnostics or the Apple Support app for guided troubleshooting and booking repairs.
Comparative Table — Quick DIY vs. Professional Repair
| Issue | DIY Likelihood | Time | Cost | Risk |
|---|---|---|---|---|
| Dirty port | High | 5–15 min | Low | Low |
| Faulty cable/adapter | High | 5–10 min | Low | Low |
| Software glitch | High | 5–30 min | Free | Low |
| Battery replacement | Low | Hours/days | Medium–High | Medium |
| Port replacement | Low | Hours/days | High | Medium |
| Liquid damage | Low | Days | High | High |
Preventative Measures to Avoid iPhone Not Charging
- Use certified cables and adapters; avoid cheap, unbranded chargers.
- Keep ports clean and dry—store in a case and avoid pocket lint.
- Update iOS regularly to benefit from charging-related fixes.
- Avoid exposing your iPhone to extreme temperatures.
- Use wireless charging pads designed for your model if you rely on wireless charging.
Additional Resources and Trusted References
For more in-depth troubleshooting and guidance, consult these trusted resources:
- Apple Support for official diagnostics and service options (Apple Support)
- iFixit for repair guides and step-by-step hardware tutorials (iFixit guides)
- Wikipedia’s iPhone entry for device history and technical specs (Wikipedia: iPhone)
- Forbes or similar tech coverage for broader discussions on battery lifespan and tech consumer advice (Forbes)
- Community experiences on Reddit for real-world troubleshooting threads (Reddit)
- Google support pages for USB/charging standards and troubleshooting ideas (Google Support)
- Amazon pages for verified, MFi-certified cables and charging accessories (Amazon)
Also, if you’re exploring multi-monitor or sim-racing setups alongside tech shopping, consider product discussions under the anchor text mobile triple screen setup simracing linked to a relevant retailer or community page for visual setup ideas.
When to Replace the iPhone
Consider replacing the iPhone if:
- Battery Health shows very low maximum capacity and performance is poor.
- Repair costs approach or exceed the value of the phone.
- Multiple hardware issues exist (screen, battery, port), making replacement more economical.
- You want improved battery life, performance, and features in a new model.
Frequently Asked Questions (Short Answers)
Q: My iPhone displays “Accessory Not Supported”—what should I do? A: Switch to an Apple-certified accessory, restart the phone, and update iOS.
Q: Can a software update fix charging issues? A: Yes—especially if the problem is caused by a known bug; always update to the latest iOS.
Q: Is it safe to charge an iPhone with a third-party charger? A: Use certified third-party chargers that meet safety standards. Cheap chargers can damage batteries or cause slow charging.
Q: How long should an iPhone take to charge fully? A: Depends on model and charger. With a modern fast charger, many iPhones reach a high charge in 30–60 minutes; full charge may take longer.
Conclusion
If your iPhone not charging, start with simple checks—try another cable/adapter, clean the port, restart, and update iOS. These steps resolve the majority of issues quickly. For deeper problems like port damage, severe battery degradation, or liquid exposure, seek professional repair to prevent further harm. Weigh DIY fixes versus authorized service by comparing cost, risk, and warranty impact. Remember to back up before repairs, monitor Battery Health, and use certified accessories to prevent recurrence. Finally, manage service appointments responsibly—cancel or reschedule via the provider’s app or portal when plans change. And don’t forget to manage related subscriptions smartly (including printer or device subscriptions) to avoid unnecessary charges and keep your tech ecosystem running smoothly.
Actionable takeaways:
- Try a known-good cable and adapter first.
- Clean the charging port gently.
- Check Battery Health and update iOS.
- Book authorized repair for hardware damage; cancel/reschedule via the provider’s app when needed.
- Use certified accessories and monitor subscriptions for smarter device management.
Related posts:
![Apple iPhone 17e Unlocked by RedPocket Mobile]()
Apple iPhone 17e Unlocked by RedPocket Mobile: Best Budget Deal in 2026?
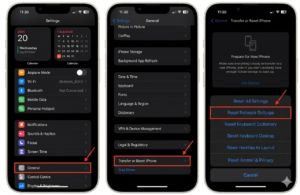
![How to Reset Network Settings on iPhone: Ifixit]()
How to Reset Network Settings on iPhone: The Complete 2025 Troubleshooting Guide
![How Can You Find a Reliable Phone Repair Service Near You]()
How Can You Find a Reliable Phone Repair Service Near You?
![How to Fix Android Phone Not Charging Properly ifixit.org.uk]()
How to Fix Android Phone Not Charging Properly: 2026 Troubleshooting Guide
![How to Fix iPhone Stuck on Apple Logo Screen?]()
How to Fix iPhone Stuck on Apple Logo Screen?
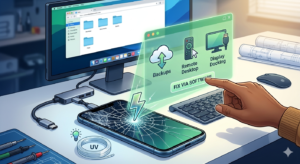
![Can You Fix a Broken Screen Without Replacing the Entire Device?]()
How Can You Fix a Broken Screen Without Replacing the Entire Device?
![ifixit.org.uk]()
How to Fix Horizontal Lines on Android Phone: Ultimate Troubleshooting and Repair Guide
![how to unhide apps on iphone]()
How to Unhide Apps on iPhone: A Complete, Step-by-Step Guide