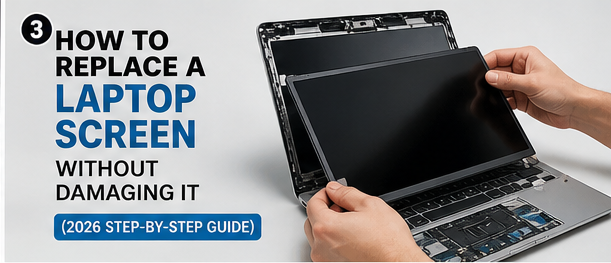
A cracked or malfunctioning laptop screen is one of the more approachable DIY repairs compared to phone screens, mainly because laptops use standard screws rather than heavy adhesive. Still, there are several ways to damage the new panel or surrounding components if you rush the process. This guide walks through the correct order of operations and the mistakes that cause the most support requests we see.
Before You Start: Confirm It’s Actually the Screen
Not every display issue means the screen itself is broken. Connect the laptop to an external monitor via HDMI first. If the picture displays correctly on the external screen, the built-in panel or its cable is at fault — proceed with this guide. If the external display also shows problems, the issue is likely the graphics card or motherboard, and a screen replacement won’t fix it.
Tools You’ll Need
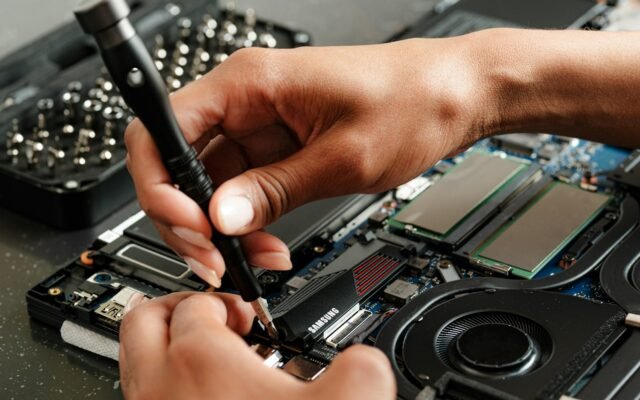
- Precision screwdriver set (Phillips and Torx bits, depending on your laptop brand)
- Plastic pry tools (never metal — these can scratch the bezel or short a connector)
- Replacement panel matched to your exact model number, not just the laptop name
- Anti-static wrist strap (optional but recommended)
Step 1: Find Your Exact Panel Model Number
This is the step people skip most often, and it’s the single biggest cause of replacement parts not fitting or not working correctly. Laptop screens vary by resolution, connector type (LVDS vs eDP){:target=”_blank” rel=”nofollow noopener”}, and physical mounting holes, even across the same laptop model year. Look for a small sticker on the back of your current panel listing the exact part number, and order a replacement matching that number precisely.
Step 2: Power Down and Discharge
Fully power off the laptop, unplug the charger, and remove the battery if it’s removable. For laptops with sealed batteries, disconnect the internal battery connector once you’ve opened the case, before touching any other components — this prevents accidental shorts while you work.
Step 3: Remove the Bezel Carefully
Most laptop screens are held in place by a plastic bezel with small rubber-covered screws hidden underneath adhesive-backed rubber caps or stickers along the edges. Gently pry the bezel starting from a corner, working slowly around the perimeter. Forcing it or starting in the middle is the most common way to crack the bezel plastic.
Step 4: Disconnect the Video Cable Gently
Once the bezel is off, you’ll see 2–4 screws holding the panel to the hinge brackets, plus a ribbon cable connecting the display to the motherboard. This connector is often secured with a small piece of tape and sometimes a locking flap. Lift the flap (if present) before pulling the cable — pulling directly on a locked connector is the fastest way to snap the delicate pins inside.
Step 5: Install the New Panel
Reverse the process: connect the ribbon cable first (checking it clicks or locks fully), screw the panel back into the hinge brackets, then test the display before closing the bezel. This test step matters — if something’s wrong with the connection, you’ll want to know before you’ve reassembled the whole laptop.
Step 6: Reassemble and Test
Once you’ve confirmed the picture looks correct with no dead pixels, lines, or discoloration, snap the bezel back into place starting from the same corner you started prying from, and reinstall any screws and rubber caps you removed.
For guidance on sourcing the right replacement tools for this and other repairs, see our phone and laptop repair tool kit guide.
Common Mistakes to Avoid
- Ordering the wrong panel type — always match the exact part number, not just the laptop model
- Forcing the bezel off without checking for hidden screws under rubber caps
- Pulling the ribbon cable without releasing the lock flap
- Static discharge damage — touch a grounded metal surface before handling the panel, since electrostatic discharge is a well-documented cause of component failure{:target=”_blank” rel=”nofollow noopener”} in electronics repair
When to Call a Professional Instead
If your laptop uses a glass-glued touchscreen (common in convertibles and 2-in-1 devices), the process is significantly more involved and closer in difficulty to a phone screen repair, often requiring heat guns and specialized adhesive. For these models, professional repair is usually the safer and more cost-effective choice, typically running £80–£180 depending on the brand and screen size.
If you’re unsure whether the repair is worth it compared to the laptop’s value, our guide on laptop repair cost vs new laptop can help with that decision.
Frequently Asked Questions
How much does a replacement laptop panel cost? Standard non-touch panels typically run £40–£120 depending on size and resolution; touchscreen panels run £80–£200+.
Can I use any panel that fits physically? No — the connector type and resolution must match exactly, or the display won’t function even if it fits the frame.
Is it normal for the new screen to look slightly different in color? Minor variation between panel batches is common and usually not noticeable in daily use, though color-critical work (photo editing) may reveal it.
How long does a laptop screen replacement take? For a standard clamshell laptop, 30–45 minutes once you have the right tools and part; touchscreen models can take significantly longer.
Explore more hands-on repair guides in our Laptop & PC Repair category.